Everyone's favorite...picture time!
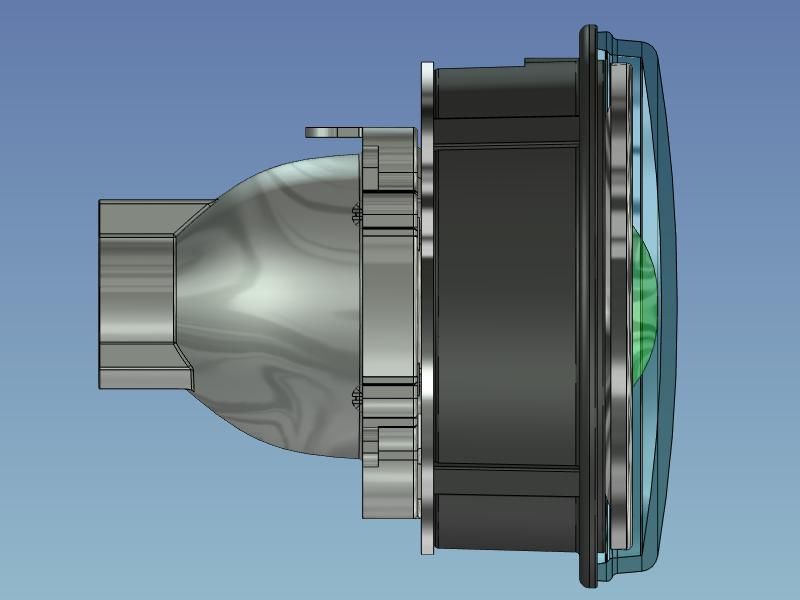
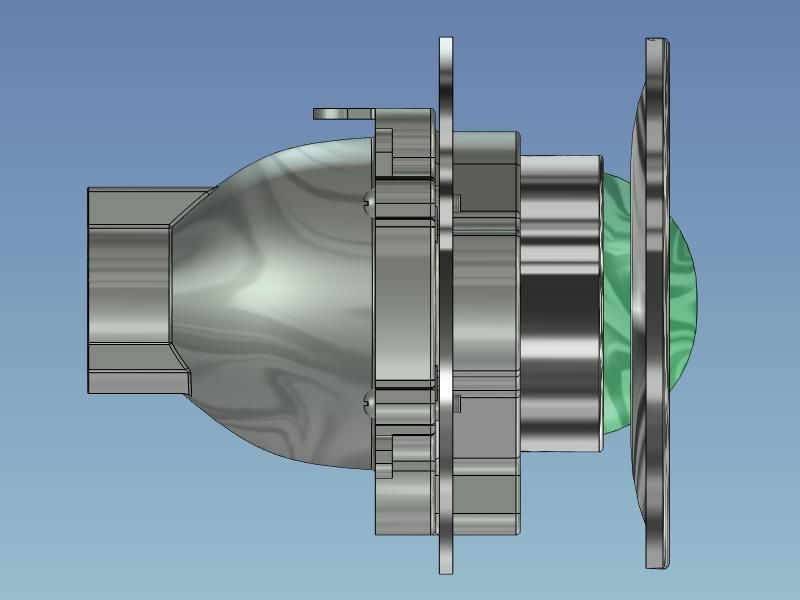
I have done a little more modeling to get the positioning of the projector nailed down. Right now, the plan is to leave 1mm between the lens & cover.
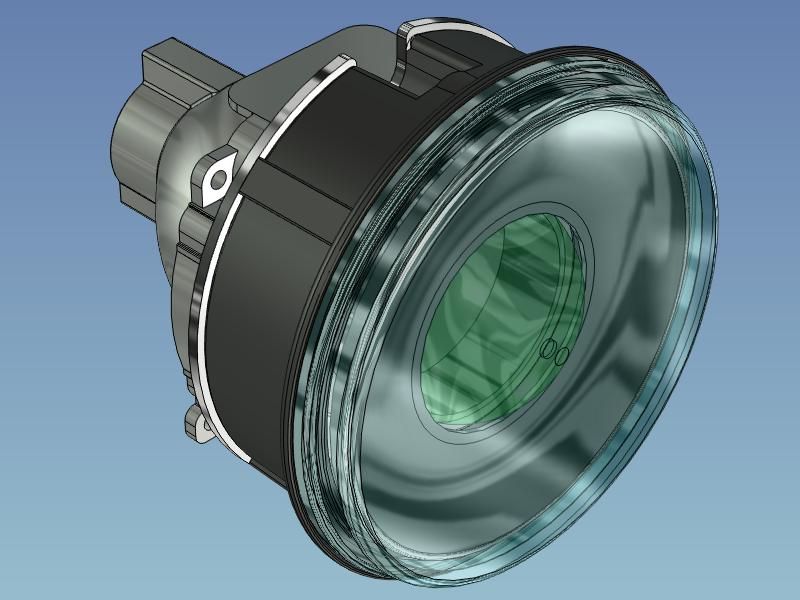
Another angle. I colored the "glass" so I could tell what the heck I was looking at. CAD can make things easier to visualize...and it can also do the opposite if you get carried away with adding surface finishes (me me me).
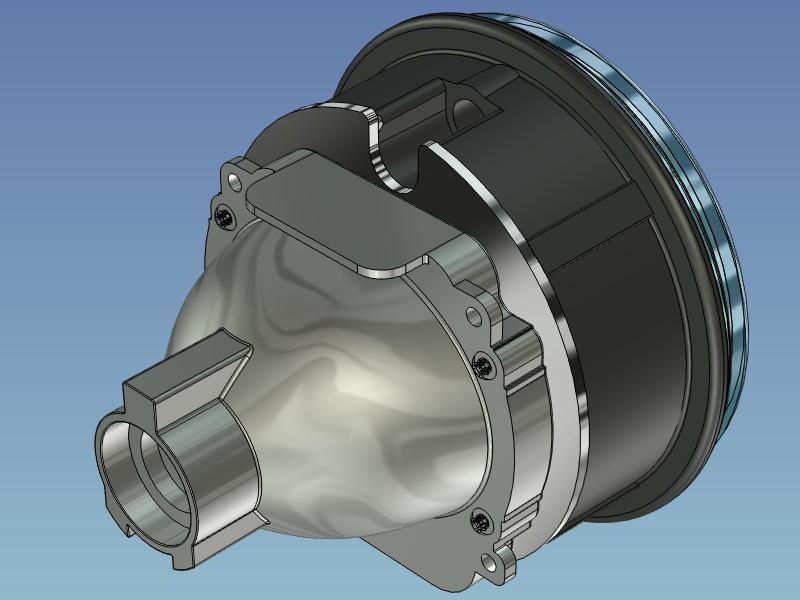
From the back. You'll probably notice the adapter plate.
Partially exploded.
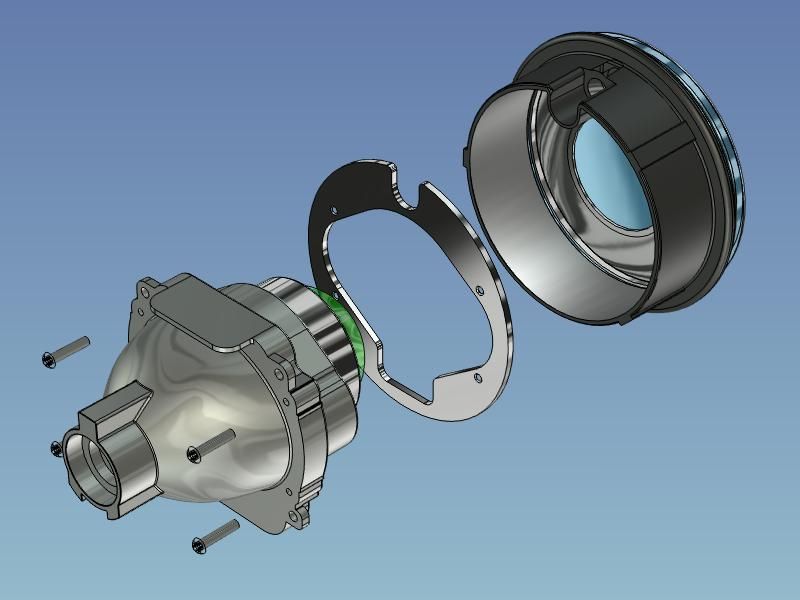
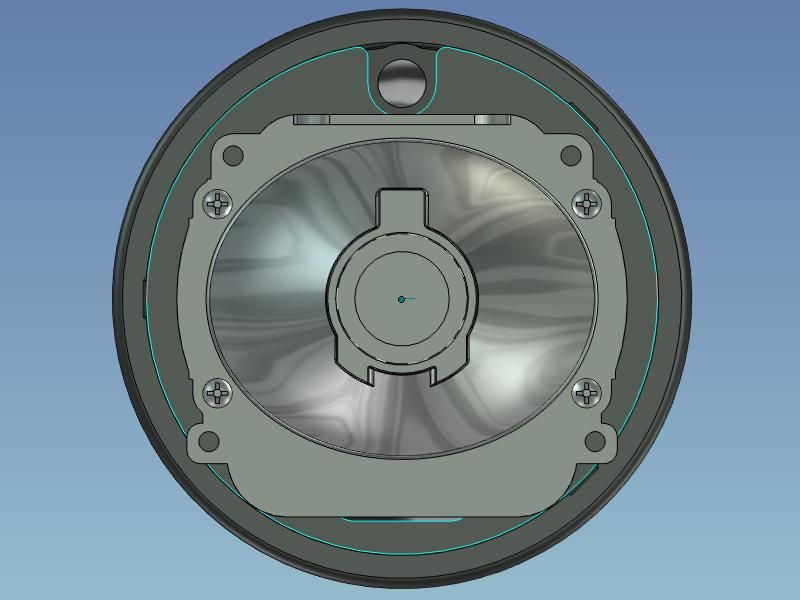
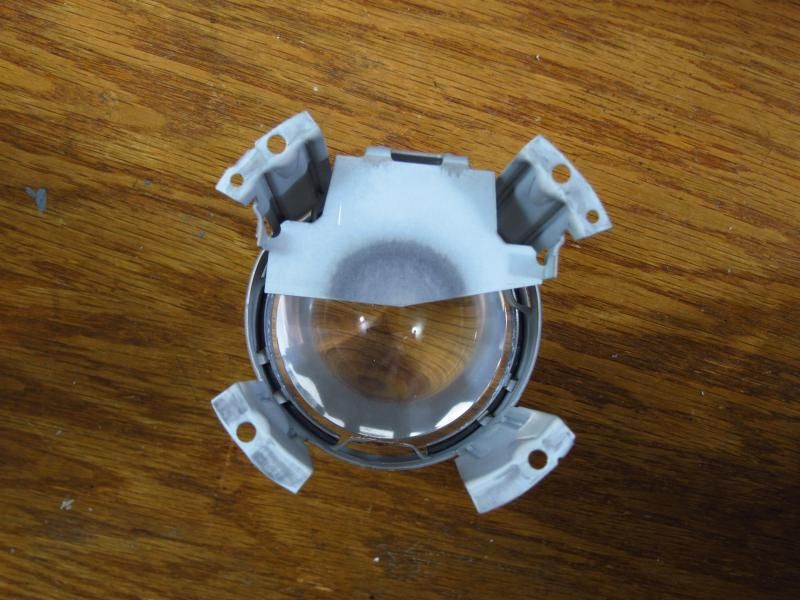
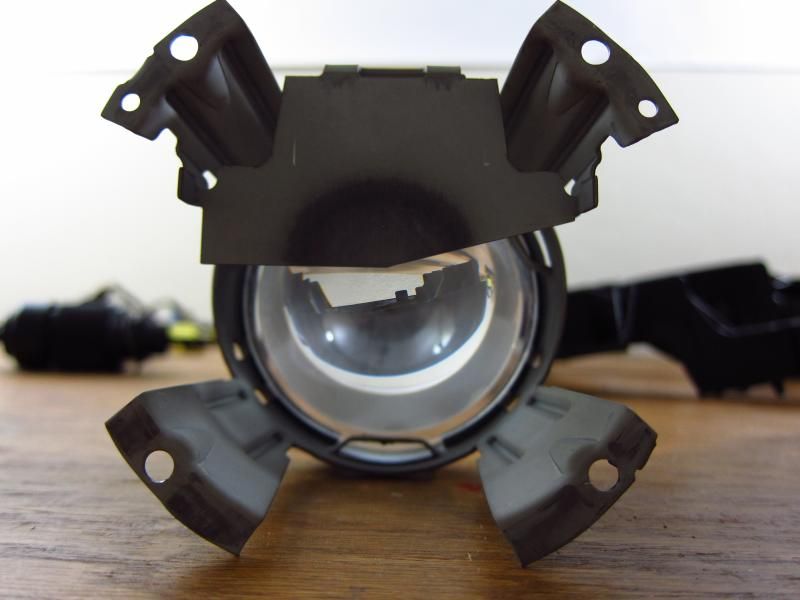
With the housing & cover gone, you can see the relative position of the new lens & the existing "shroud". I am a little concerned that the shroud will block a lot of light as it is positioned here. This will just take some real-world experimentation. Worst -case, I will have to cut the shroud up, or make a new one. I plan to paint it black to give the "smoked" light appearance, so modifications might not be all that noticeable. We'll see...
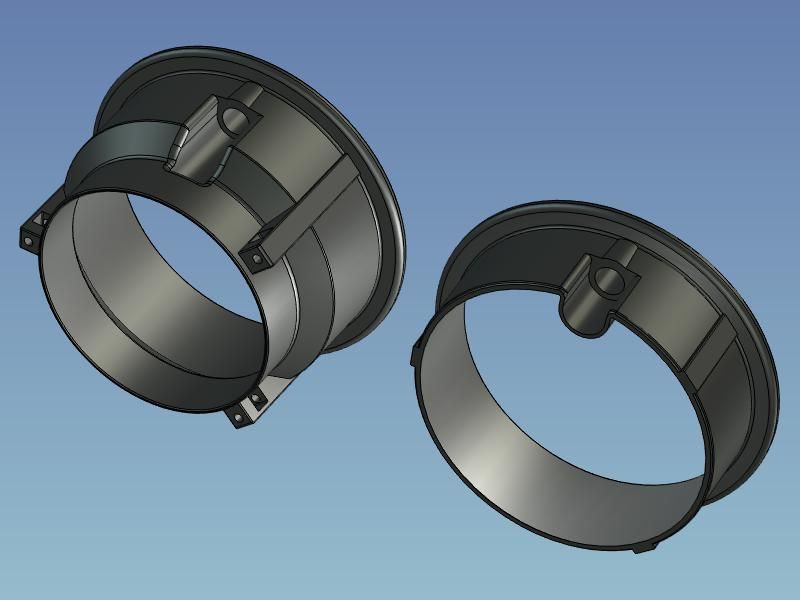
Here's a quick shot showing what I plan to do to the housing. I want to chop off 32.675mm (29.5mm + 1/8" for the adapter plate). I omitted the adjuster brackets that are part of the housing since I do not plan to cut them. One of them will be in the depth of the cut, so it is going to take some careful cutting to not destroy it.
Finally, here it all is from the back. I plan to mount the FX-R projector using the existing assembly screw locations, rather than the little ears that stick out. It helps to keep things compact. The unused ears will get cut off, and I want to seal it all up with a big rubber boot thing (still looking for something to use). The diameter of the adapter is 5". If anyone can recommend a rubber cap for a 5" circle, and that is 2.5"-4" long, let me know. Basically, I need a bigger version of these.
http://www.theretrofitsource.com/product_info.php?products_id=4649Doing it this way allows me to avoid putting RTV or aluminum tape all over the projectors. I wanted to use some 5" ID tubing at first, but the hole in the headlight bracket won't accommodate that without chopping it up, which I won't do.
I disassembled everything the other day. The plan is to clean the hell out of it all since it is greasy & nasty.
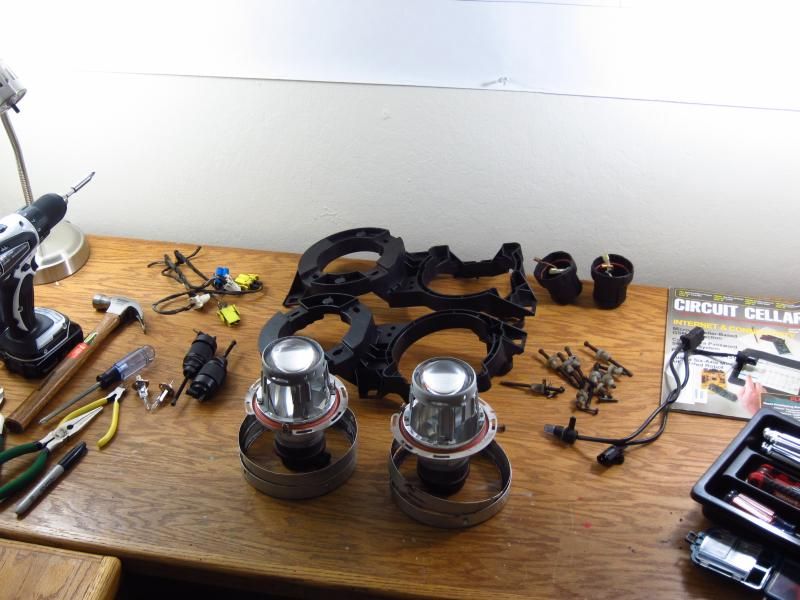
Here's the stock projector.
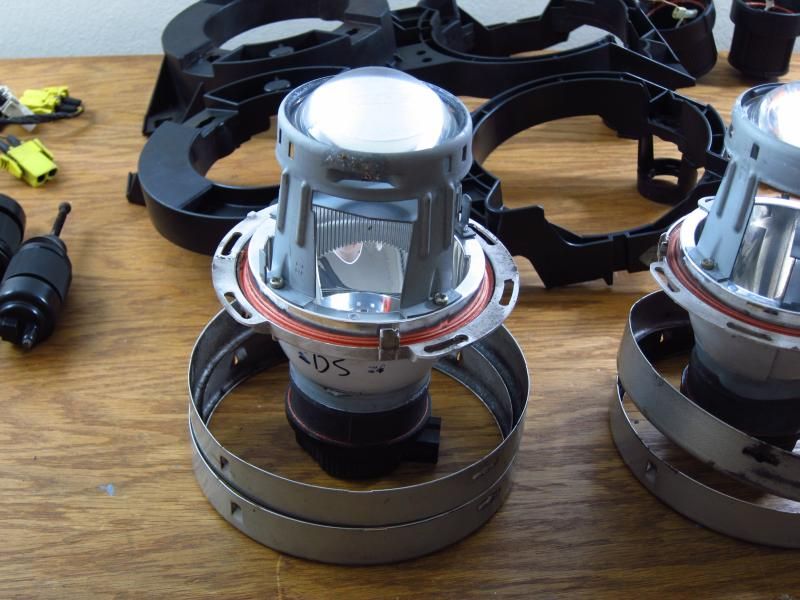
You can see where the Euro cut-off comes from. You may also notice that it saw a lot of heat & UV!
The world, as seen by an H1 bulb.
The reflector dish was in bad shape. Decades of heat & oxidation have taken their toll. You can't see it in this photo, but there are a couple of spots where the heat was intense enough to cause the metallic coating to crack & peel. It is supposed to look like a clean mirror in there. Based on what I see here, I think I will stop recommending used ellipsoid lights as an "upgrade." I bet you lose a LOT of light output with the old tarnished reflectors. Some new Hella or Cibie H4 housings (used with sealed beam brackets) probably give far better output at this point since their reflectors are, well, NEW! If you want ellipsoid lights & good lighting, pay for new ones.

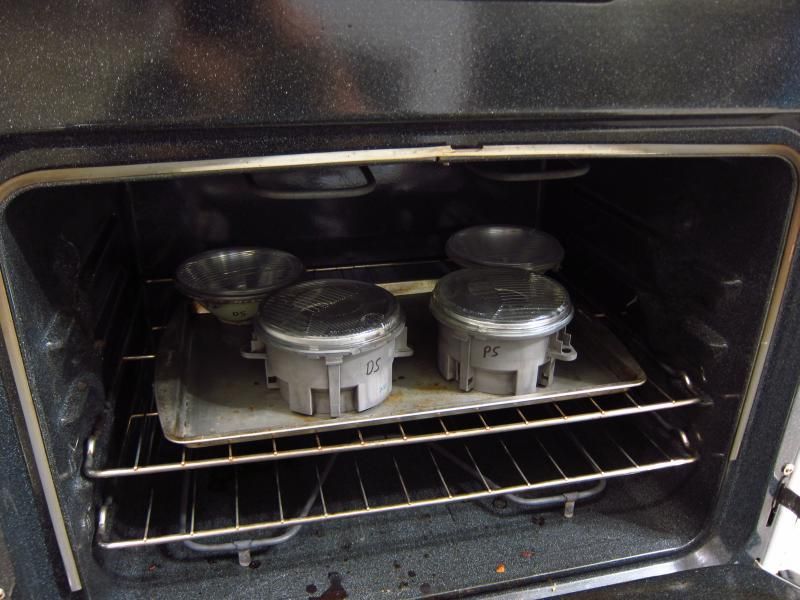
Removing the glass covers was really easy. I put the housings into the oven and let them bake at 250°F for ~15 minutes. Open a window & run the vent fan; these things got smoky & stinky!
Start with the low beams in the little slot where the cover's locating leg rests.
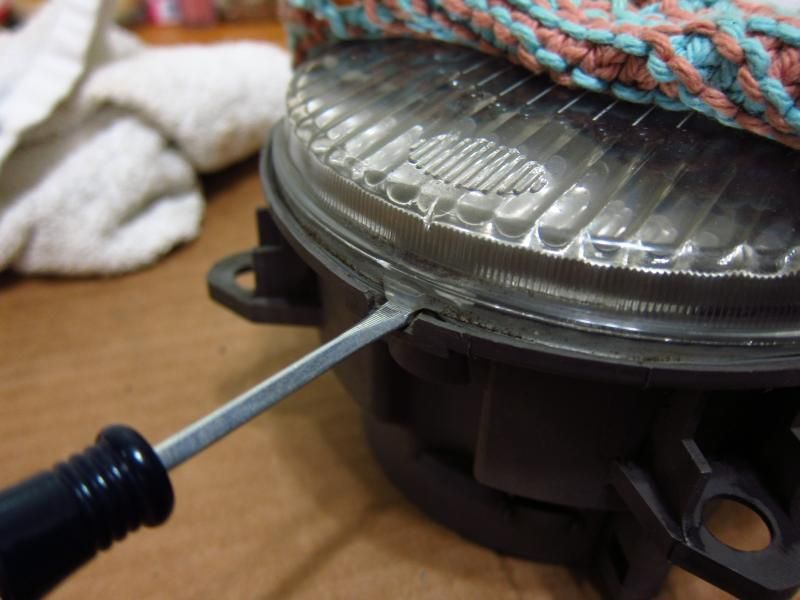
The low beams are really easy. The housing deflects a little, so you can easily get a screwdriver in there. Pry with it, but DO NOT TWIST. Work it into the adhesive in 5-6 places before you really pry too hard. Break it loose in a bunch of small spots & then pop it out.
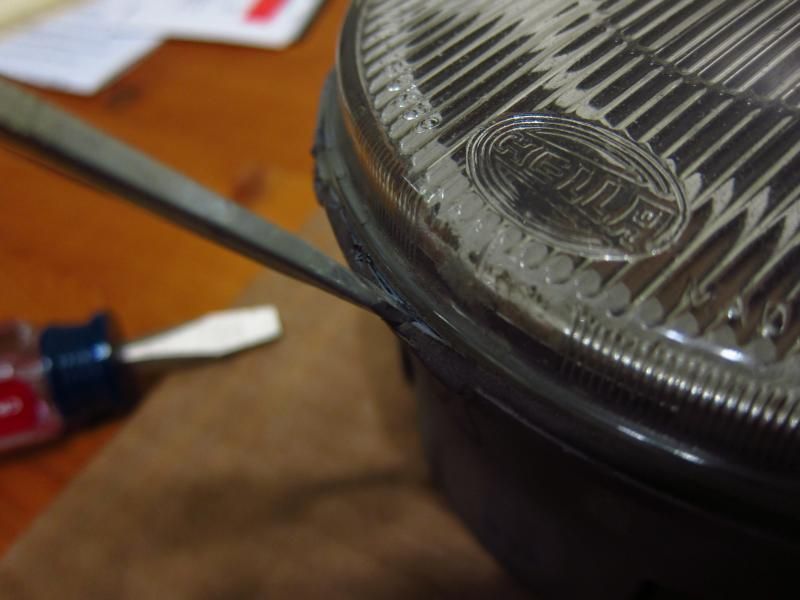
The high beams are done the same way, but they are a little more of a pain. Since the housing is metal, you have to be careful since it doesn't really deflect. Find one of the little notches in the outer lip & start there. Work your way around, jamming the screwdriver in to break it loose in a number of spots.

Wear gloves or use an oven mitt. You want to have comfortable grip on these when you work on them. To get the old glue out, re-heat the parts with it on them & scrape it off with the screwdriver.
That's all I have for now. The coming weekend will probably be pretty busy with holiday stuff, so this is going on the back-burner for a little while. Merry Christmas & happy holidays to you E30 guys!
