updated oil pressure relief valve questions:
1. Do you think that this can be done underneath the car?
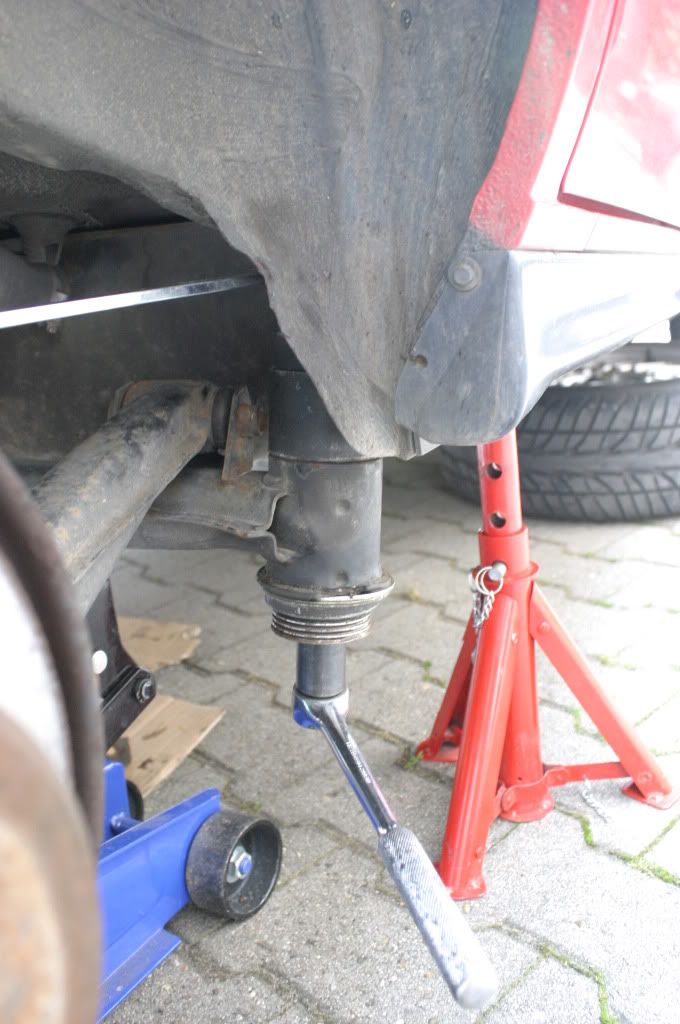
2. How much force is necessary to compress that spring? I'm a 300 lb guy ... I know if your skinny ass could compress it I could simply by leaning on it. However, since I am not pulling the engine I was thinking of using a jack.
Thoughts?
Not much, I think it could be easily accomplished from underneath. A jack is an excellent idea.
And now, onto the progress report, and sorry for the lack of updates and the lack of pics, I will explain...
I wanted to wait till the motor was running to tackle any other issues, like the rear subframe bushings. I put the rear upo in the air and grabbed my special bushing installer consisting of from top to bottom, an old serp belt pulley, (2) huge alum washers, M12 threaded rod, an old huge Snap-on socket.
I reset the bushings, they were out about a cm or so:
And to make sure I don't have to do this again:
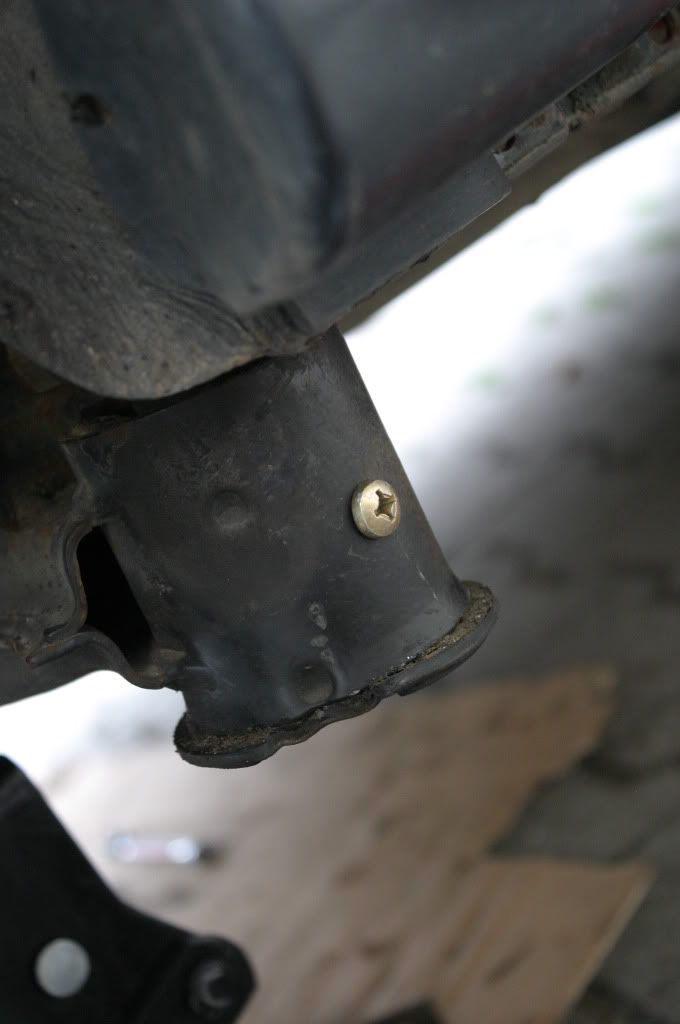
Drilled a hole thru the carrier and the sleeve in the bushing, drove in what I had handy. When the time comes, it is easy enough to knock the head off and drive the thread through to remove the bushing.
Next BJ were the rear brake lines. I figured now was the best time to repolace the brake lines since I would have the subframe out anyway. I took advantage of Blunt's deal on the Goodridge SS lines. And sice they are TUV approved over here in Germany, I said 'what the hell'.
Well, I started on the right side. I cut the rubber line and used a line wrench on the hard line and a 14mm socket on the cut-off side. The line came loose easily also on the trailing arm connection. That was the easiest part for the next day and a half. Moving to the caliper line, the fltting and soft line fitting were completely siezed together. I was badly bending the line to get it loose so I said f' it. But by then it was 3pm on Friday. So I flew over to BMW and ordered ALL new hardlines for the rear, came to about 18euro. So, Saturday morning, I picked up my lines and got to work. Bent the new rear, came out very nicely:
Then installed the caliper line.
The other side went like butter and got that done in about 2hrs, yes 2hrs. It is a royal PITFA even with the subframe hanging, and brake fluid dripping on you.
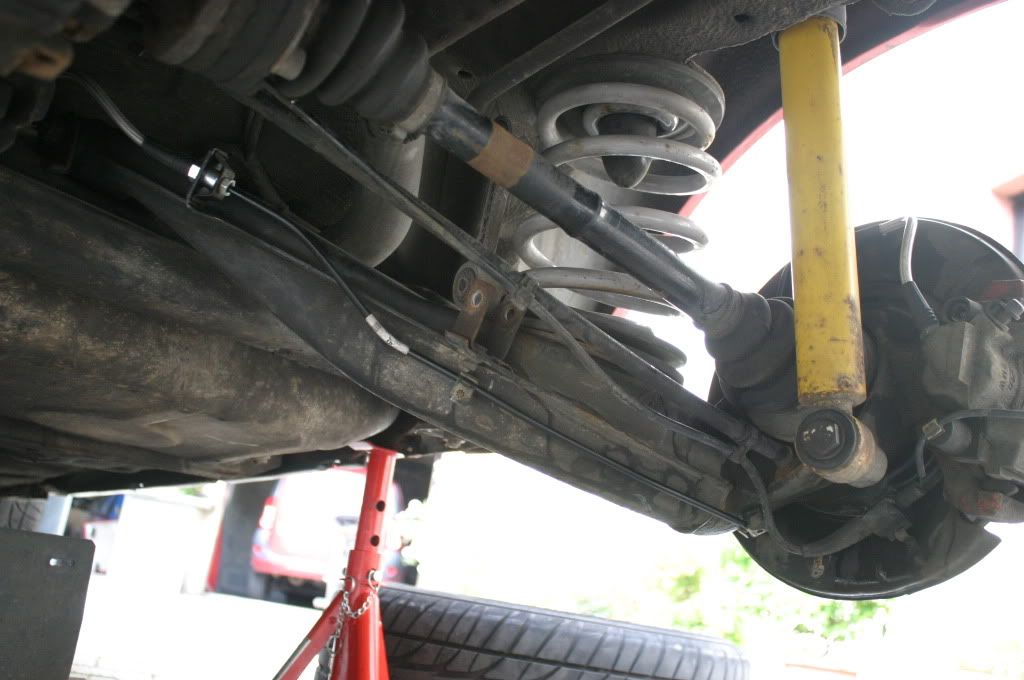
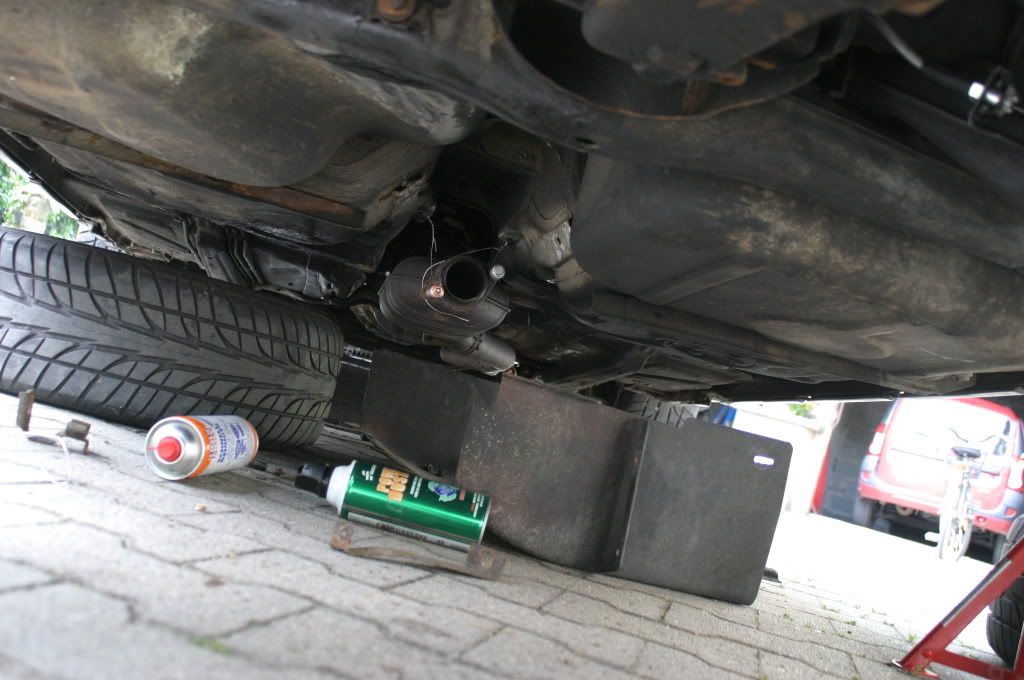
Making sure the lines sat well I moved to the driveshaft and exhaust. Didn't stop to take any pics really, except these (2). I just kinda aimed the camera underneath:
I Bought new springs/bolts/nuts, and a fresh exhaust bracket(below) for the cat pipe. Don't wanna put any extra stress on the manifold.
Here is a bad shot of the new giubo, E21 mounts, exhaust bracket...
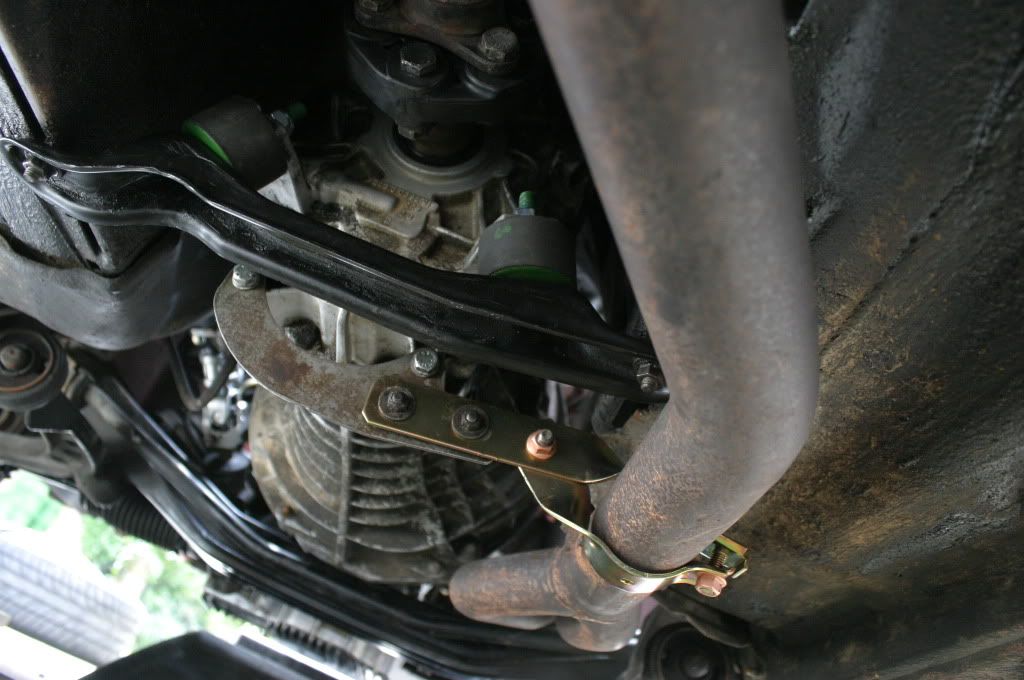
There is a pinhole in the pipe, don't ask how that happened:rolleyes: just under the band. I have to head to my buddy's shop this Thursday to use the welder.
So after that, I hung my overpriced catback with all new rubber rings. The bands for the iS exhaust are larger than those for the m40 exhaust so I ran home to grab one that I had lying around. I ordered another from the dealer today.
Skip to Saturday at about 5pm. Got the Wife, see avatar, to act as my pedal-pumper for the clutch and brake bleeding. Then started her up. Ran her for about 20-30minutes, bled the cooling system and gave it a once over for leaks. Took it out for about 15 minutes, beating it up a bit. Brought it back to make a toe adjustment and noticed an oil leak where the upper and lower timing cover meet, just below the tensioner plug. Sooo, I said f' it, set the coolant to drain so I could mess with it in the morning.
Sunday Morning, I got up at 730am and started working. It had occured to me that I had forgotten to 'preload' the profile gasket between the timing covers when installing it. So, I pulled the COP and VC, and proceeded to loosen all the bolts in the upper cover about 1/2 turn. Using a long screwdriver, I pushed the cover down so it was flush with the VC gasket surface and tightened down the upper corner, then the same to the rt side. After it was tq'd I put some RTV Black over the area for extra insurance. That was about 830-900am. I left it alone till about 230-300pm. In the meantime, I buttoned up the rear end and made some adjustments to the front toe(still not right, i'll be getting an 'alignment', otherwise known as a toe adjustment after I do my springs/billy's/LCA's).
So I take it for another test drive, and now I see a light leak from the tensioner plug!!!! So I brought home what tools I had in my car and waited for the kids to go to bed before I looked at it.
I decided after adjusting the toe again, that I had maybe enough time to give it a shot before ending this roller-coaster of a week. I pulled the plug, cleaned the threads and sealing area on the head and applied some RTV black. Let it sit till I went to work at 5am(7+ hrs).
Got to work this morning(25km/15mi) and damn, still seeping, Muthafugginm42bullshit. BUT I can't be sure it's only the plug. I can't get it to stop seeping long enough to see if my upper/lower profile gasket squishing/rtv'ing workied oir not. Regardless, I stopped at the dealer on the way home and ordered M42 timing cover gaskets, which I believe are paper. I am currently running the 1pc M44 metal-gaskets which IIRC, some people have found leak-prone. I also ordered a new t-stat housing & gasket, O-ring, some adjuster cups for my projectors(non-smiley) I have had sitting around for a few months, and the band/hanger for the muffler.
This weekend I will be pulling the covers, thoroughly cleaning them, and using the paper gaskets with RTV Black all-around. As for the tensioner plug, I will be pulling that AND the tensioner. Cleaning the threads on the head and plug, RTV again and I will be trying a rubber O-ring(with RTV of course) instead of the metal crush washer. I will also be inspecting/resurfacing the sealing surfaces on the head and plug/bolt.
I will let you all know what happens.
