M42 Rebuild

Author Topic: M42 Rebuild  (Read 30807 times)

KenC

  • Sr. Member
  • ****
  • Thank You
  • -Receive: 0
  • Posts: 498
    • View Profile
M42 Rebuild
« on: February 12, 2010, 10:30:05 AM »
Cross-referenced from R3vlimited for those who don't surf there as well:

the #4 injector stuck open and my rings in #4 were subsequently toasted. I decided to hone and re-ring the pistons instead of buying a used block. I also decided to replace the rod and crank bearings.

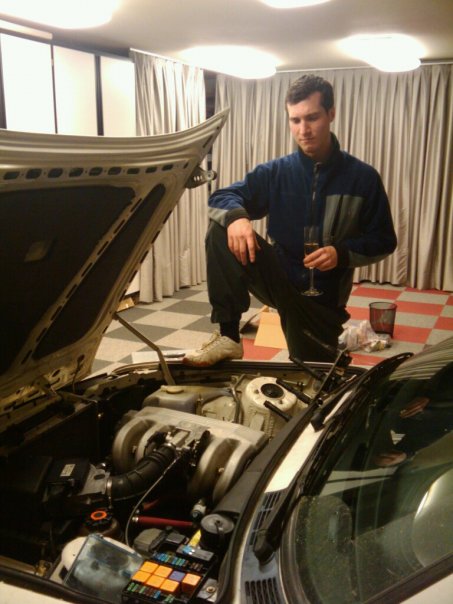
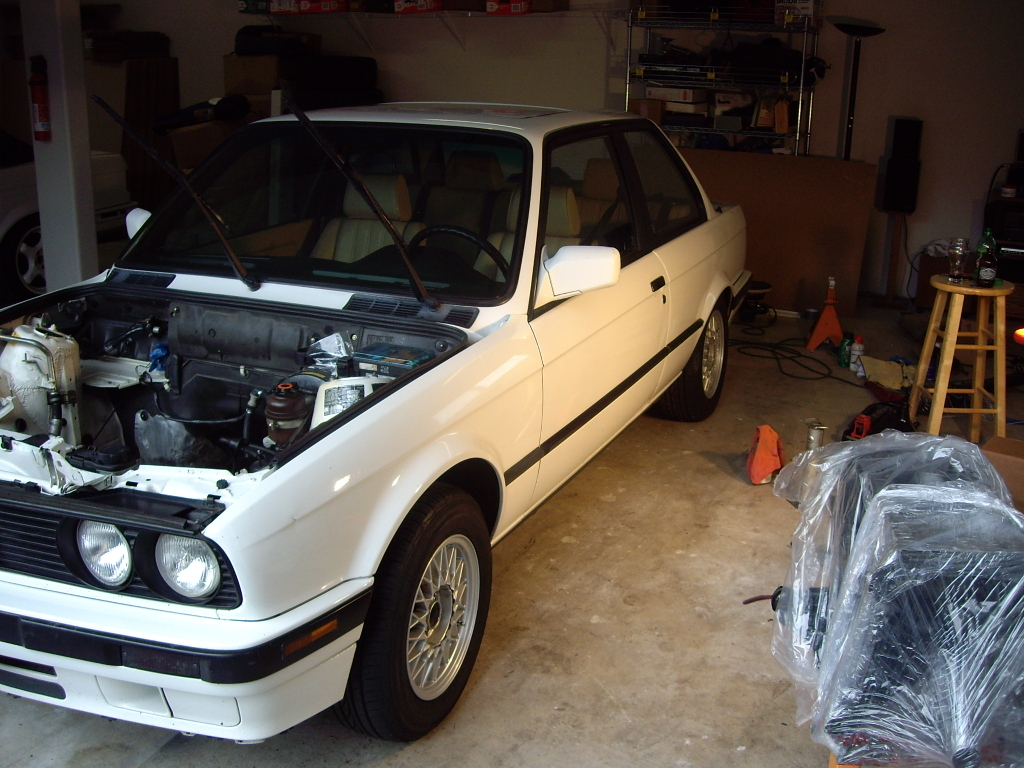
Right after it "died."  The champagne (well, Cava actually), was little consolation.


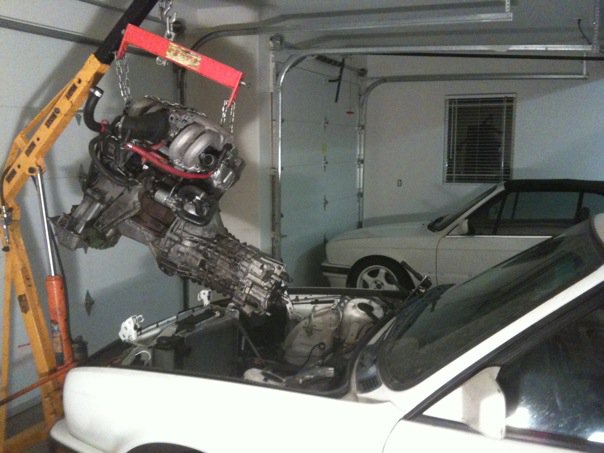
Pulled the engine out by myself in a few hours... quite proud of that achievement.


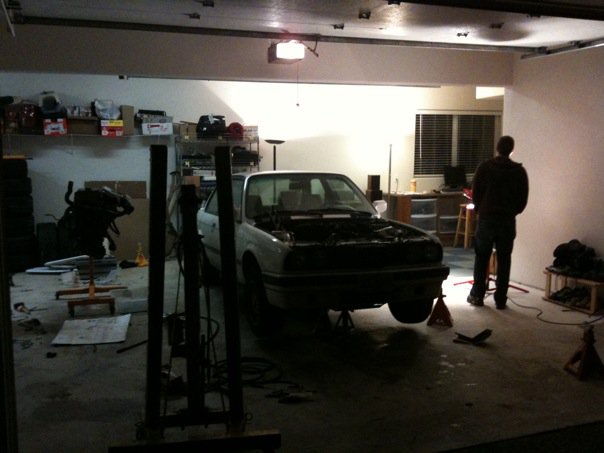
The "man-cave" that Darin (CorvallisBMW) and I have been slaving away in for weeks.  Thank god for Oregon winter brews :)


Starting to break it all down:


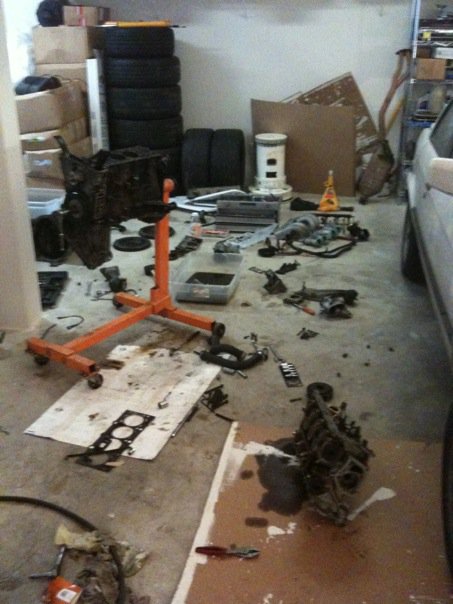
... that's all I have from the breakdown.  Didn't really feel like breaking the camera out when my hands were hella greasy.


I've owned the car for over two years, and I've literally washed it a half-dozen times.  Darin said it was pissing him off, so we decided to wash, clay, polish, and glaze the paint while waiting for the block to come back from the machine shop.


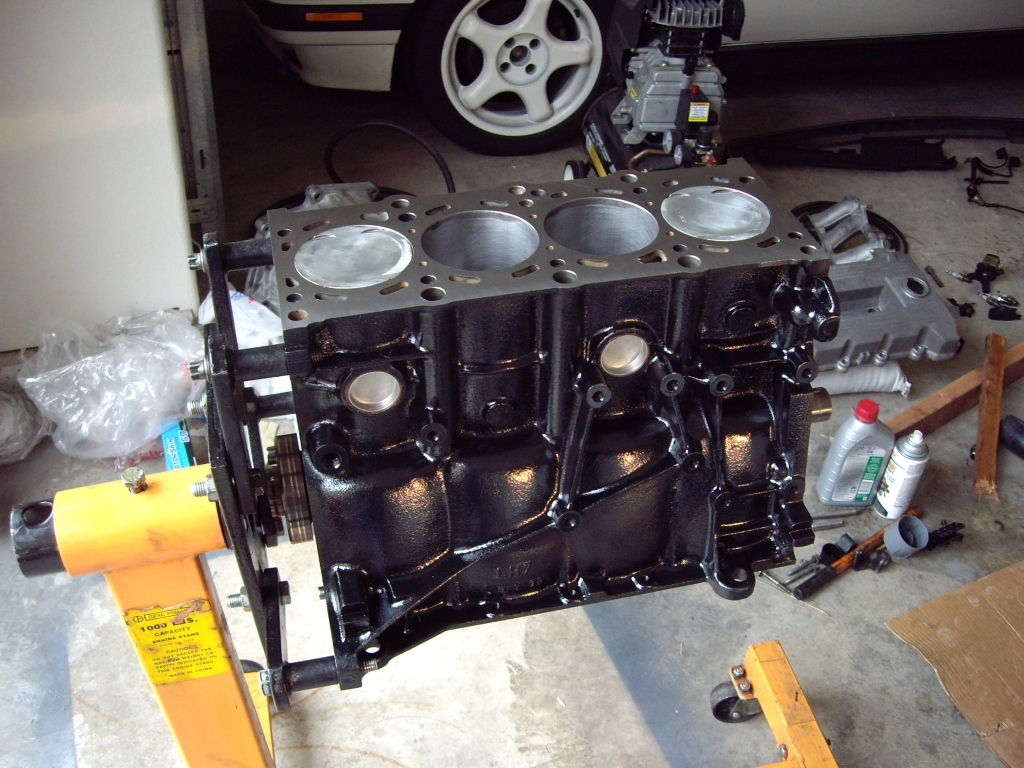
After getting the block home from the machine shop:
I can't say enough about how awesome Brian at M&B Cylinder Head in Portland treated me.  I had him hone, clean, paint, deck, and put the rotating assembly together for me.  He does all of the block work for Horsepower Freaks, whose BMW M52s have put down 1022whp on the dyno.  Needless to say, I was confident that he could take care of mine.


Assembly begins:

I primed and painted nearly every piece with high temp paint.  

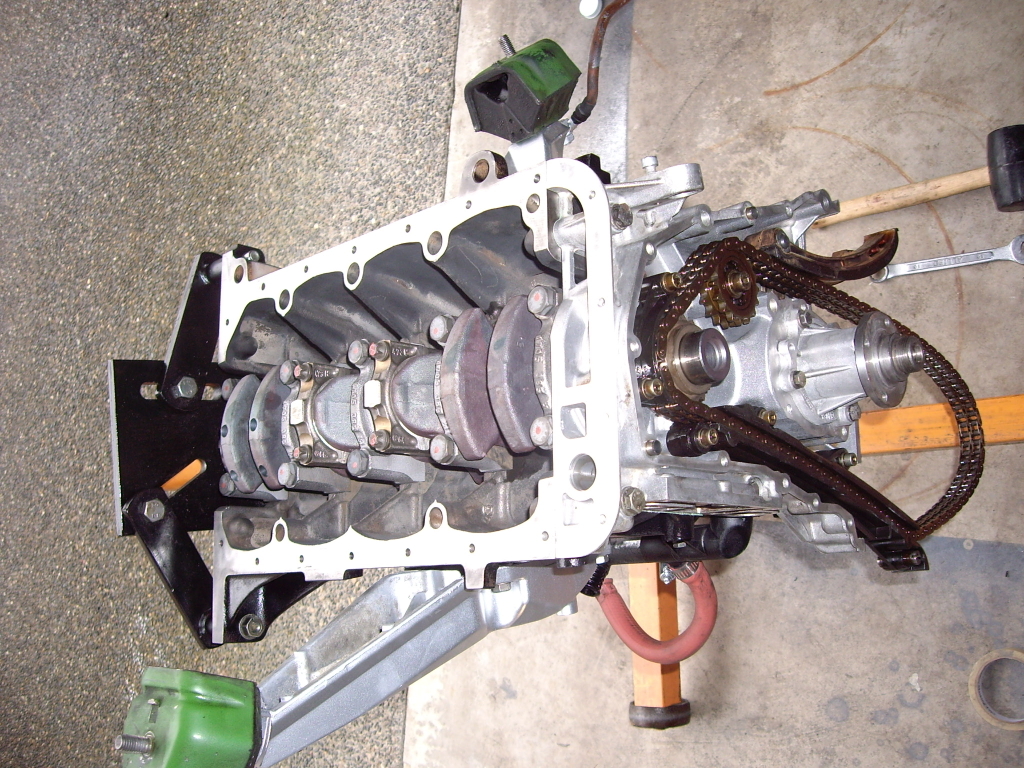
Updated oil pressure relief valve:


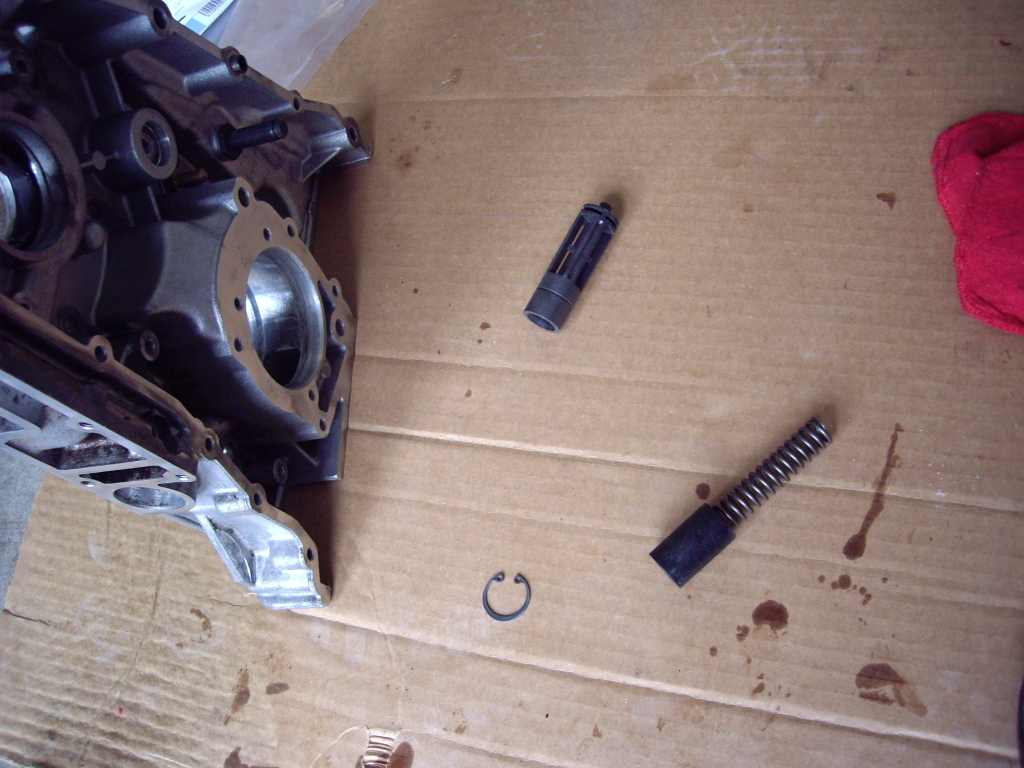
Lower timing case installed with chain guides:
The paper gasket behind the lower timing case is the only paper one I'm using.  Black RTV will be used in place of all other paper gaskets.  I'm not risking oil leaks with 1980s technology.


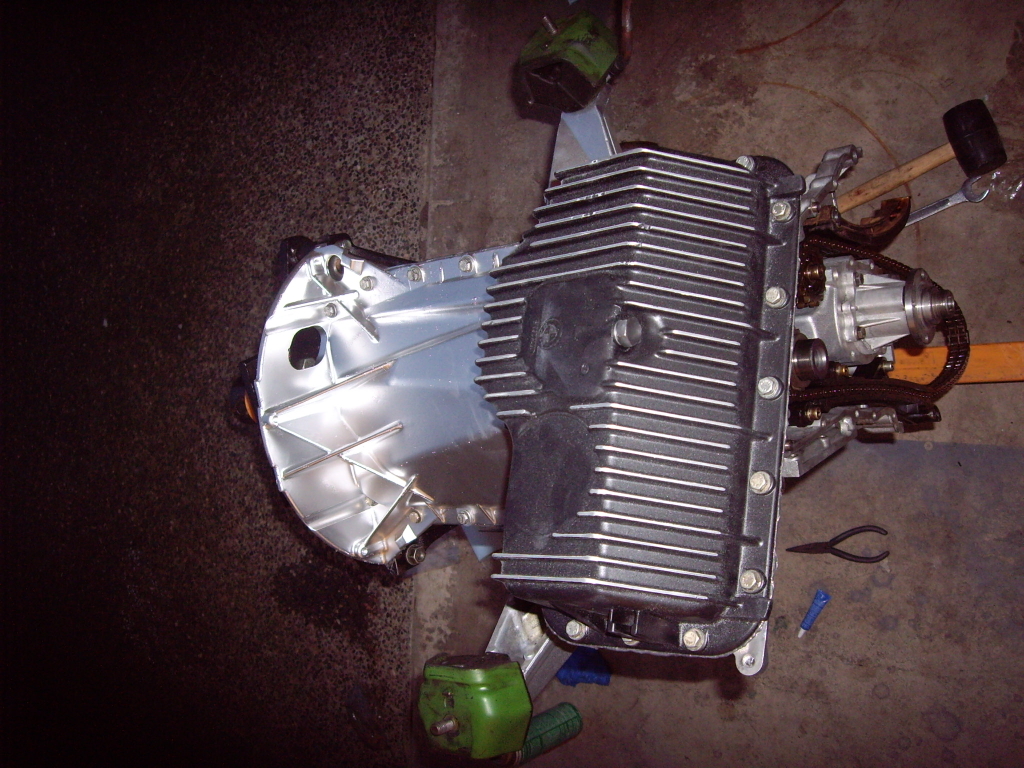
Upper and lower oil pans installed:
The lower pan had the ridges block sanded.  As you can see the engine mount arms were painted as well (obviously not the underside of the far one).  Those are e28 535i mounts (stiffens the hell out of the engine).


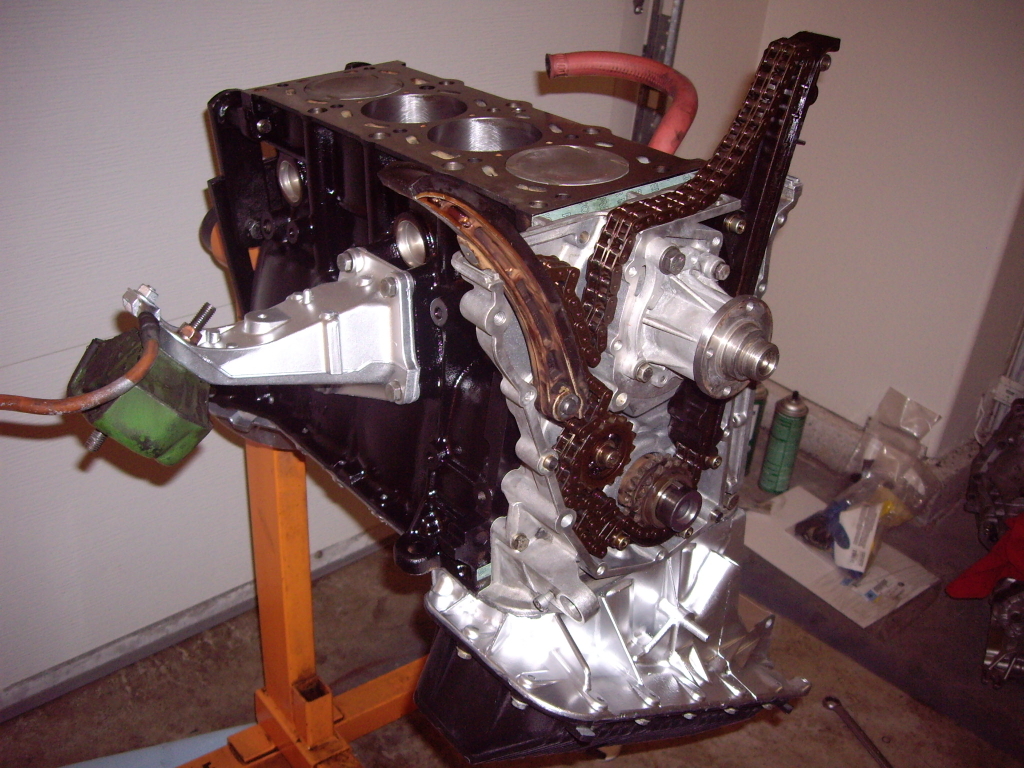
How the engine sits at the end of today (waiting on cam locks to get the head on):


Intake manifold on the head:


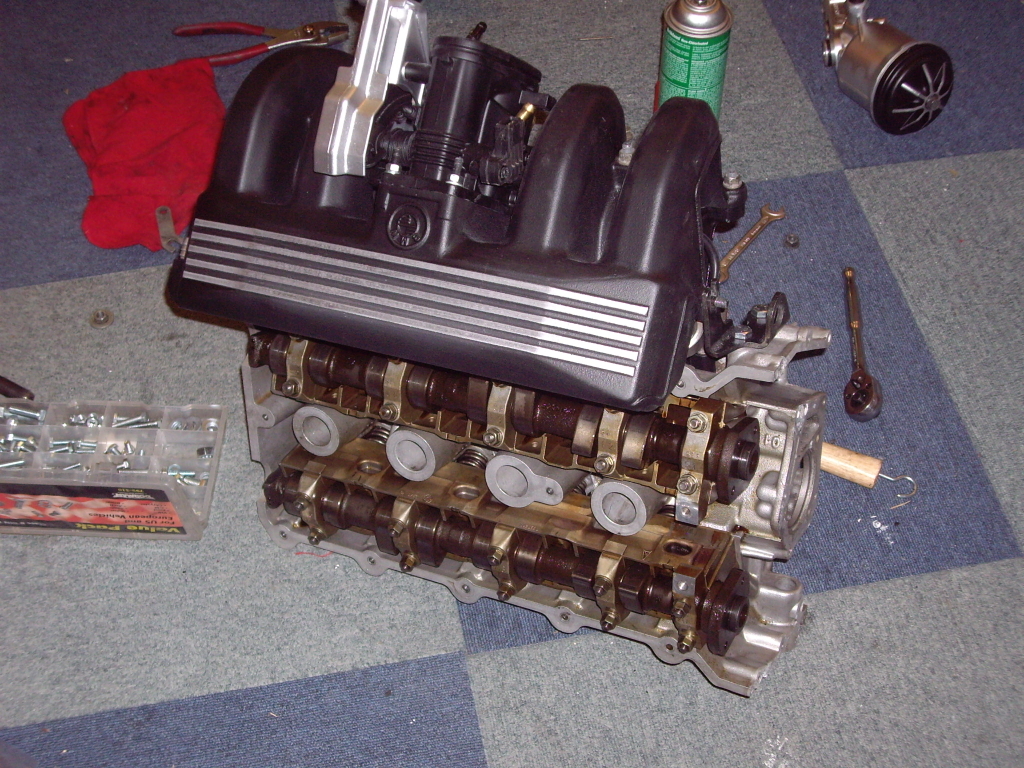
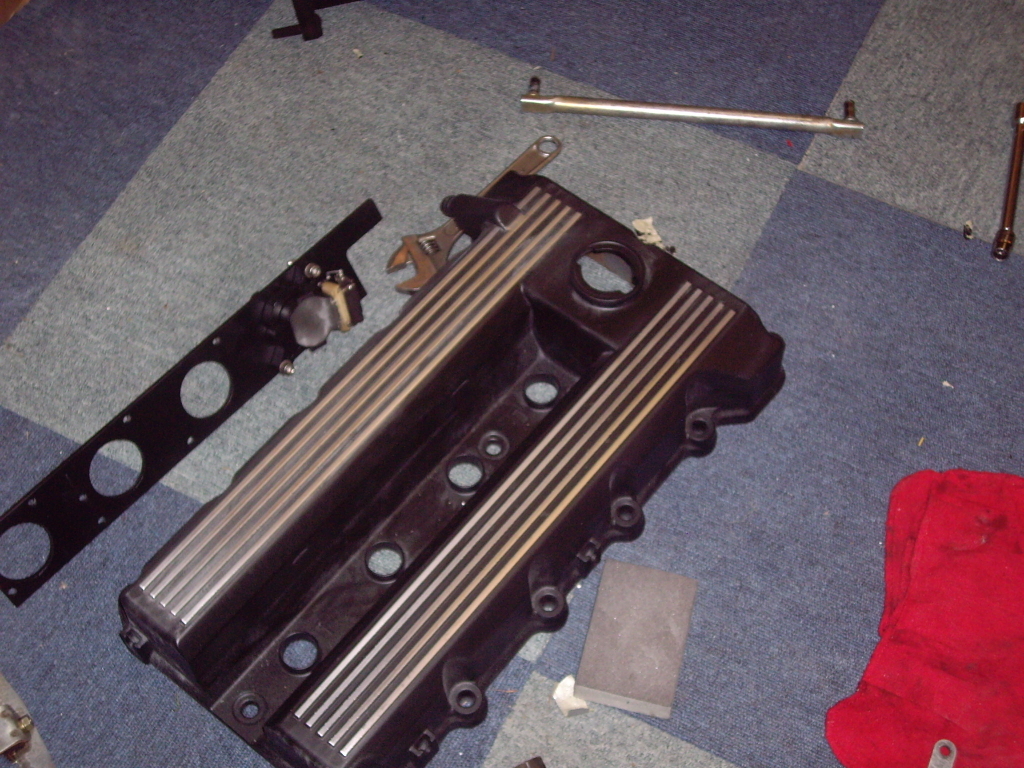
Black + block-sanded valve cover and matching COP bracket waiting to go on:


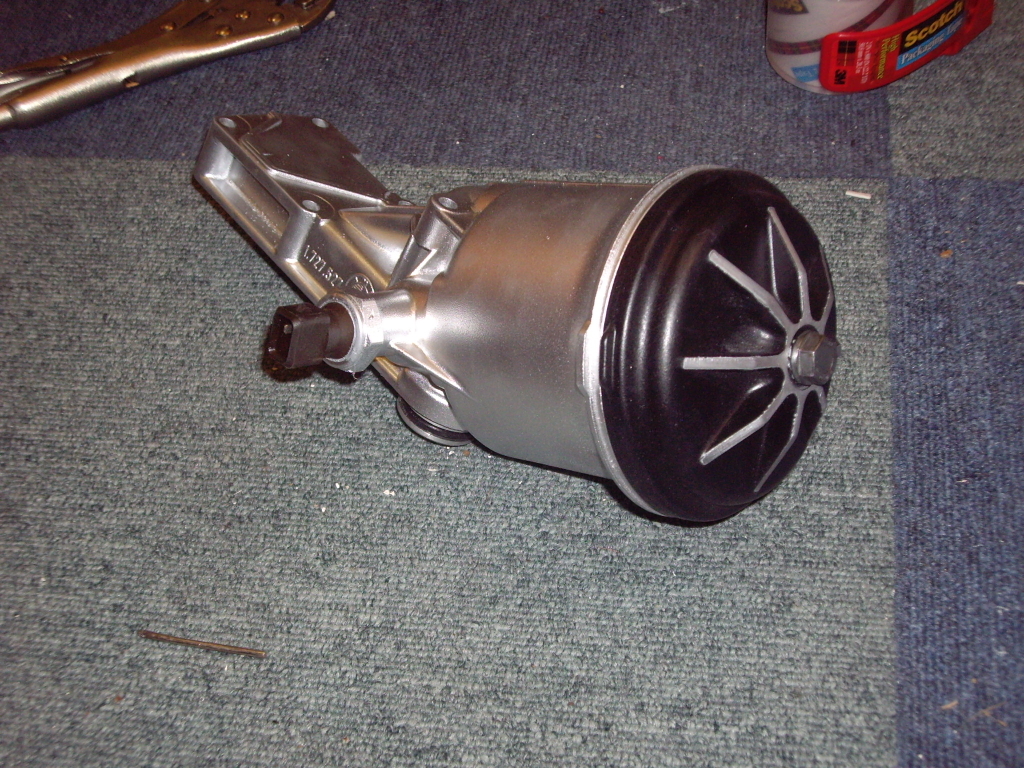
Of course the oil filter housing has to match too:


Too be continued...
« Last Edit: February 12, 2010, 10:35:55 AM by KenC »

dvmotorsports

  • Hero Member
  • *****
  • Thank You
  • -Receive: 1
  • Posts: 523
    • View Profile
M42 Rebuild
« Reply #1 on: February 12, 2010, 02:12:49 PM »
Good move on the RTV. I used OE profile gaskets and it has leaked since day one.

Looking good by the way.

KenC

  • Sr. Member
  • ****
  • Thank You
  • -Receive: 0
  • Posts: 498
    • View Profile
M42 Rebuild
« Reply #2 on: February 12, 2010, 03:31:06 PM »
Yeah, I've had horrible luck with the timing case gaskets.

ecalder

  • Full Member
  • ***
  • Thank You
  • -Receive: 0
  • Posts: 108
    • View Profile
    • http://www.lanovatile.com
M42 Rebuild
« Reply #3 on: February 12, 2010, 04:01:29 PM »
This is inspirational!

1991 318i 5 Speed
2004 X3 2.5 6 Speed
2011 1M June 17 Euro Delivery!

dj91318is

  • Jr. Member
  • **
  • Thank You
  • -Receive: 0
  • Posts: 82
    • View Profile
M42 Engine Rebuild
« Reply #4 on: February 12, 2010, 05:23:54 PM »
KenCopperwheat - You do such nice work, very well detailed Engine! Wishing you the best of luck. Keep us updated on what to do/watch out for some day.

waldo

  • Newbie
  • *
  • Thank You
  • -Receive: 0
  • Posts: 39
    • View Profile
M42 Rebuild
« Reply #5 on: February 12, 2010, 05:58:32 PM »
Very nice.  I am curious to know what you reused vs new on the internals.

KenC

  • Sr. Member
  • ****
  • Thank You
  • -Receive: 0
  • Posts: 498
    • View Profile
M42 Rebuild
« Reply #6 on: February 12, 2010, 07:05:35 PM »
Quote from: waldo;87365
Very nice.  I am curious to know what you reused vs new on the internals.


Block internals?

I replaced all four sets of rings, rod bearings, and crank bearings.

nicknikolovski

  • Sr. Member
  • ****
  • Thank You
  • -Receive: 0
  • Posts: 389
    • View Profile
M42 Rebuild
« Reply #7 on: February 13, 2010, 05:02:06 AM »
Very impressive, your doing a great job.
My engine is at 225,000km and it has me thinking of doing a rebuild soon. Very nice colour choice as well. Are going to high temp paint the exhaust manifold as well, get it ceramic coated or just leave it stock?

Also did you have the crankshaft acid tested, reground and what about the main bearing caps? They only seem to be available with a new block assembly. Were they ground for the new bearings?

BMW FOR LIFE!

KenC

  • Sr. Member
  • ****
  • Thank You
  • -Receive: 0
  • Posts: 498
    • View Profile
M42 Rebuild
« Reply #8 on: February 13, 2010, 09:30:12 AM »
I painted the headers with 1500F paint and I'm going to wrap them with black FG wrap.

You can just insert new bearings into the caps. You buy them as a whole set, top and bottom with the 360 thrust bearing.

Unless your engine has been beat to hell, the crank shoul be fine. My crank looked great and my crank bearings were still in great shape. I only replaced them becuase I mixed them up when I took the crank out.

KenC

  • Sr. Member
  • ****
  • Thank You
  • -Receive: 0
  • Posts: 498
    • View Profile
M42 Rebuild
« Reply #9 on: March 03, 2010, 04:06:06 PM »
UPDATES!

So I put the finishing touches on the engine today, and it's ready to drop in.  I'll be borrowing a cherry-picker tomorrow hopefully, and then a one-day break-in drive on Saturday :).

We put the new rear main on and were able to fill it with oil last night.


Heatshield that had to be shipped from the motherland:


Valve cover and COP on:


Not sure how this got upside down, but when I deleted the "mess under the intake" a few months ago, there was a light kink in the vacuum line from the ICV to the intake boot, so I went to Home Depot and found a brass fitting that worked for an elbow:


Ain't she purdy?
I put some 1500deg black paint on the headers, so hopefully they stay black for a while.


The only paper gasket on the whole thing poking its head out (the RTV I used is some nasty s&%*... I got a little bit on one of my tools, and I had a hell of a time trying to get it off):

Chalino

  • Full Member
  • ***
  • Thank You
  • -Receive: 0
  • Posts: 229
    • View Profile
M42 Rebuild
« Reply #10 on: March 03, 2010, 04:21:32 PM »
Focking awesome!
1991 318is
2001 IS300

"Now, me and the mad scientist got to rip apart the block... and replace the piston rings you fried."

4banger

  • Sr. Member
  • ****
  • Thank You
  • -Receive: 0
  • Posts: 369
    • View Profile
M42 Rebuild
« Reply #11 on: March 03, 2010, 04:37:17 PM »
nice work ken. that motor looks better than the day it rolled off the line.
\'NO ONE CAN HEAR YOUR SCREAMS ABOVE 6500 RPM\'S"

:D:D[SIGPIC][/SIGPIC]

Sean_318is

  • Full Member
  • ***
  • Thank You
  • -Receive: 0
  • Posts: 142
    • View Profile
M42 Rebuild
« Reply #12 on: March 04, 2010, 07:04:33 AM »
Wow! Excellent work :D

I'm hopefully getting a near complete replacement low mileage unit with camshaft problems for £70 ($100). I can only dream it will ever look this good!
Cars and Girls, all fun, all expensive, all the time!

1994 BMW 318is Coupe

DesktopDave

  • Administrator
  • Legendary
  • *****
  • Thank You
  • -Receive: 60
  • Posts: 5076
  • Lives in the 80s
    • View Profile
    • The Iconic BMW
M42 Rebuild
« Reply #13 on: March 04, 2010, 12:17:27 PM »
Outstanding job.  I'm thinking I could handle about half the stuff you did.

Not to be a jerk (can't really help myself sometimes)...but Germany ist der Fatherland.
'08 Karmesinrot 128i 6MT
'86 Zinnoberrot 635CSi (M30B32/G265/3.46 torsen LSD)

Sold: '97 Montrealblau 318iS, '91 Brilliantrot 318i, '91 Brilliantrot 318iS

Letsplayskatch

  • Full Member
  • ***
  • Thank You
  • -Receive: 0
  • Posts: 126
    • View Profile
M42 Rebuild
« Reply #14 on: March 04, 2010, 03:24:01 PM »
Let us know what those E28 engine moutns are like. I have a set but am waiting to fit them. One bloke on here said theyre 'too' hard..pah!