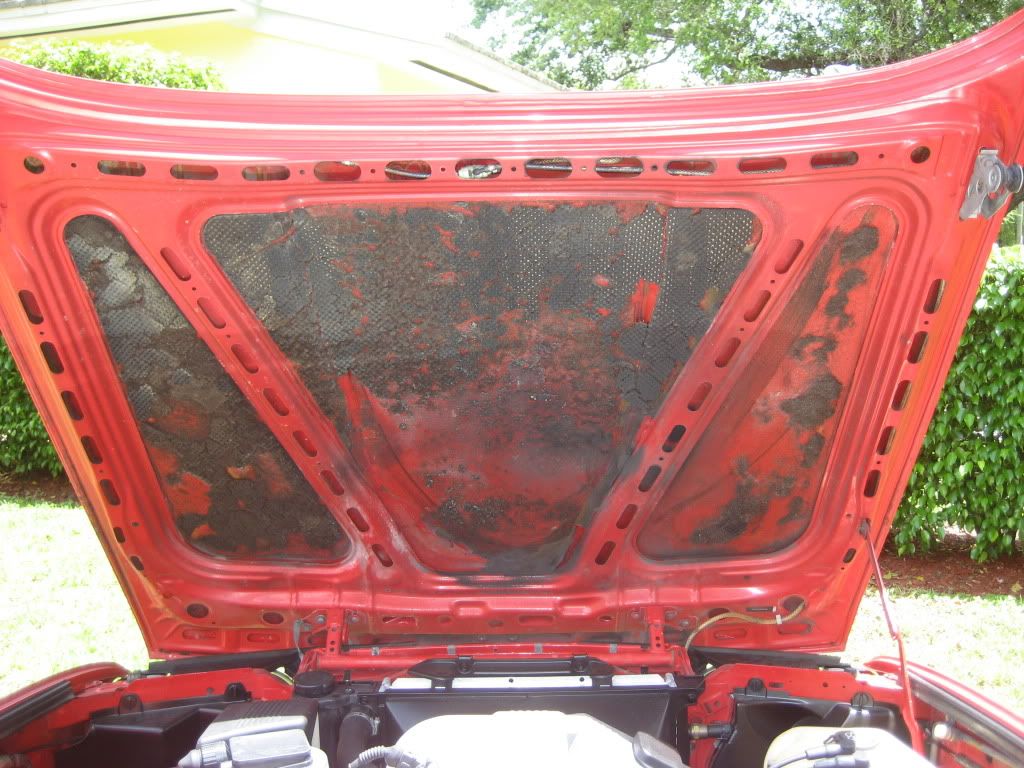
Got some more work today. Added some new hood insulation as the original was all shot and missing in most areas. I found a company that uses a material that will not absorb water and oil.
http://www.bonnetliners.com is where I got them. You can also get them from ZM Blue Devil (Levent) on some of the boards. I got the 1/4" instead of the 1/2" and it fits perfect. The slots for the insulation are about 1/4" in depth, so just right. It was only a about $15 more that the OEM pads and are much better in quality. They are FAA approved and used in firewalls on airplanes...good enough for me. Here are a few pics of them them before and after.
Before:
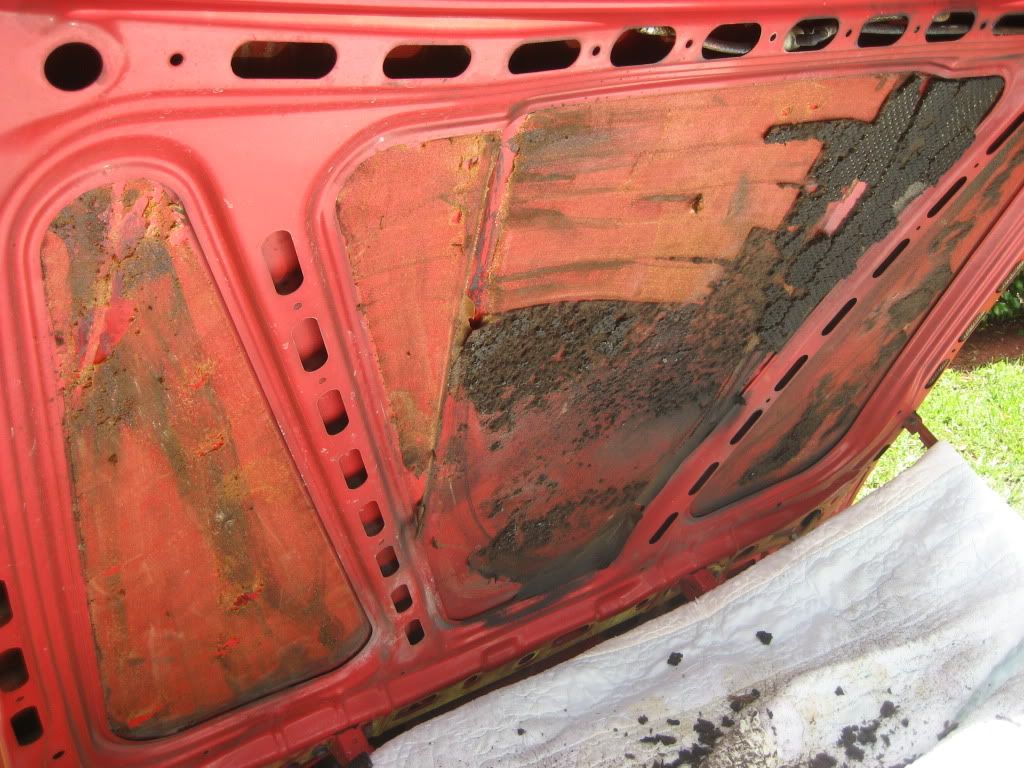
Prep:

Halfway on removal:
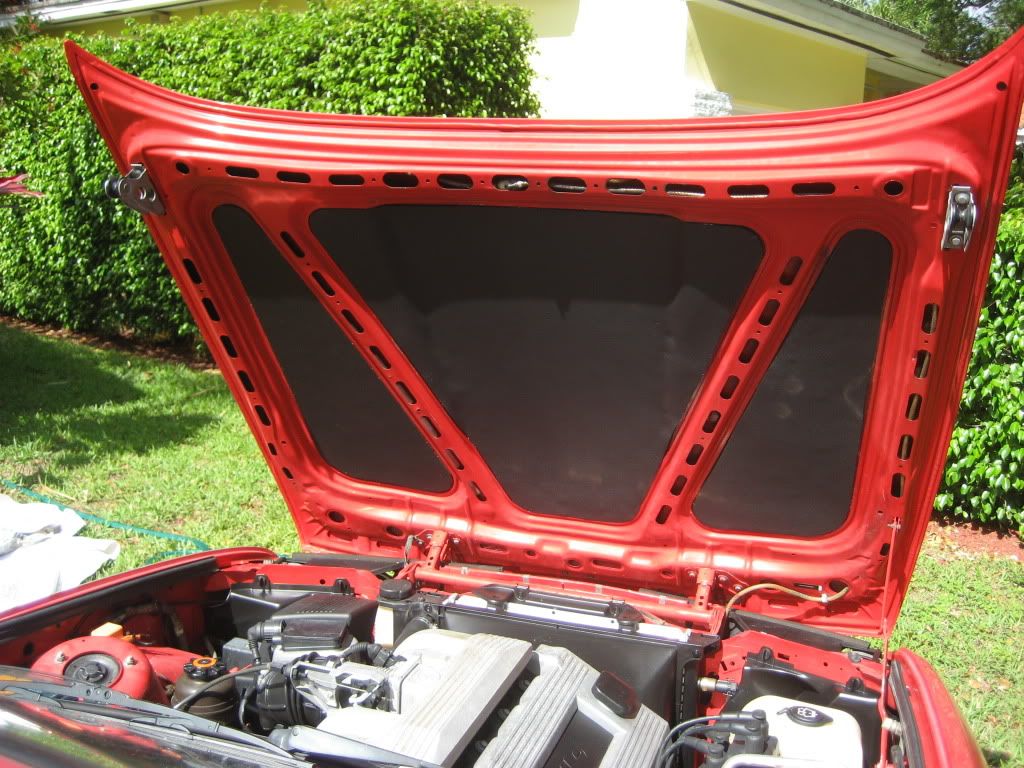
New installed:
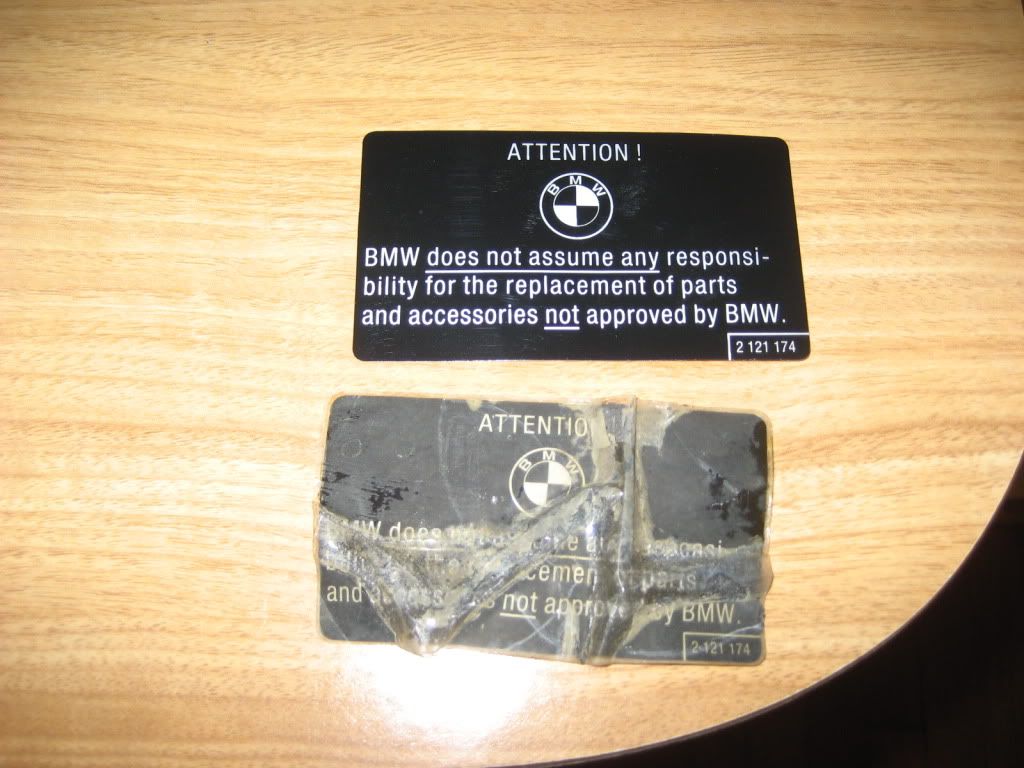
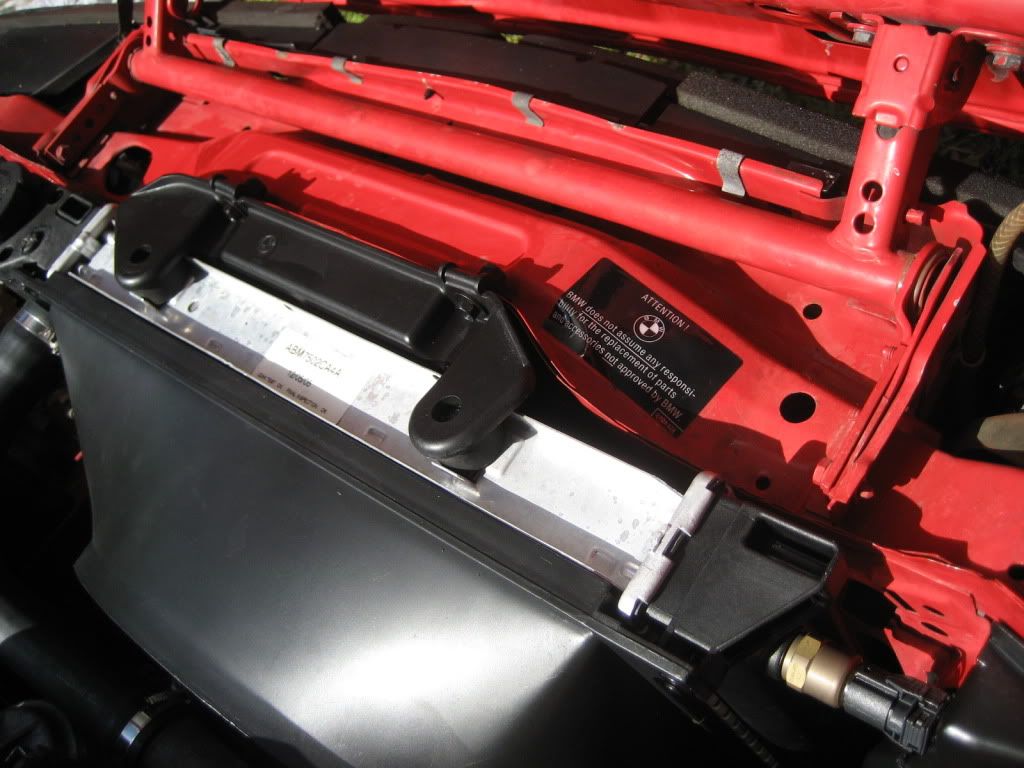
I also replaced a worn out OEM sticker in the engine bay.
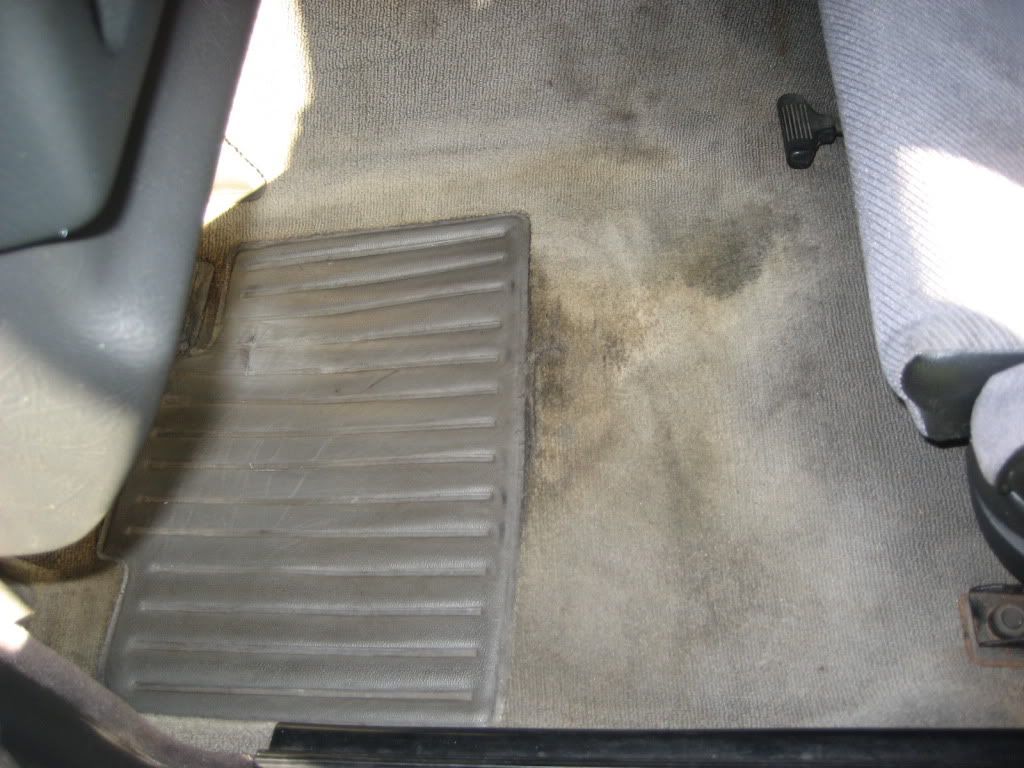
I also ordered the OEM floor mat locks. I decided to try this on my not so good aftermarket floor mats to see how they work. You will see I also need to replace the whole carpet if a good cleaning does not work. I will also go from gray to black, but this is in the future for now. Installation was easy, just need to cut a hole big enough on the mat. I just measured it to try to keep them even.
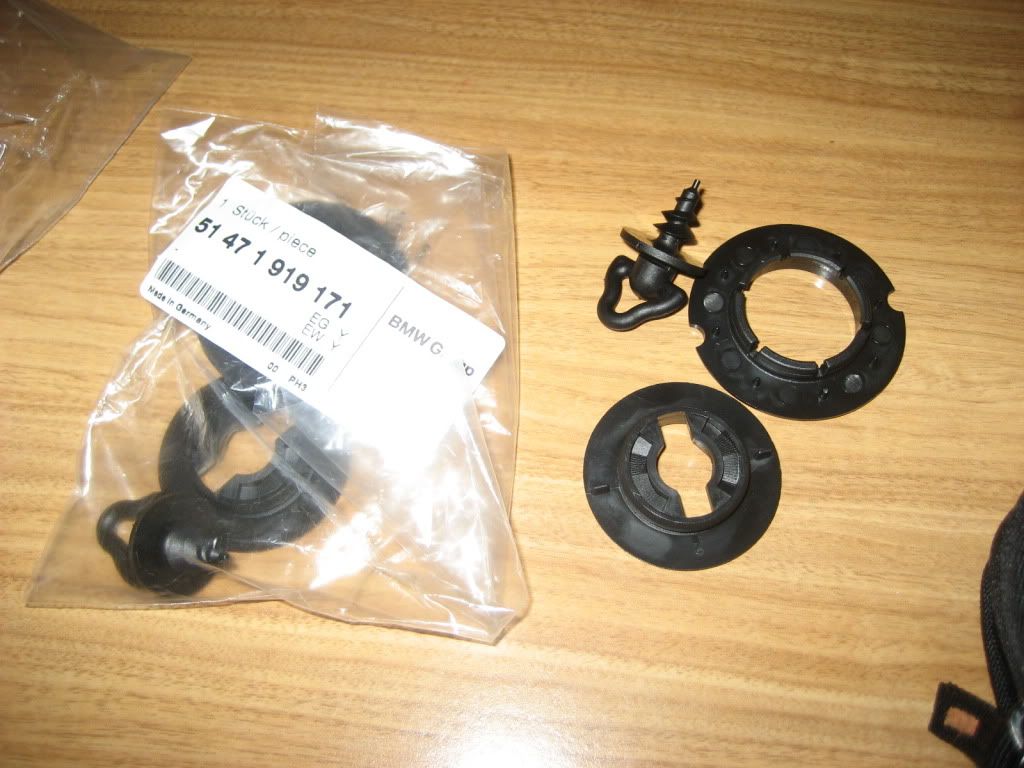
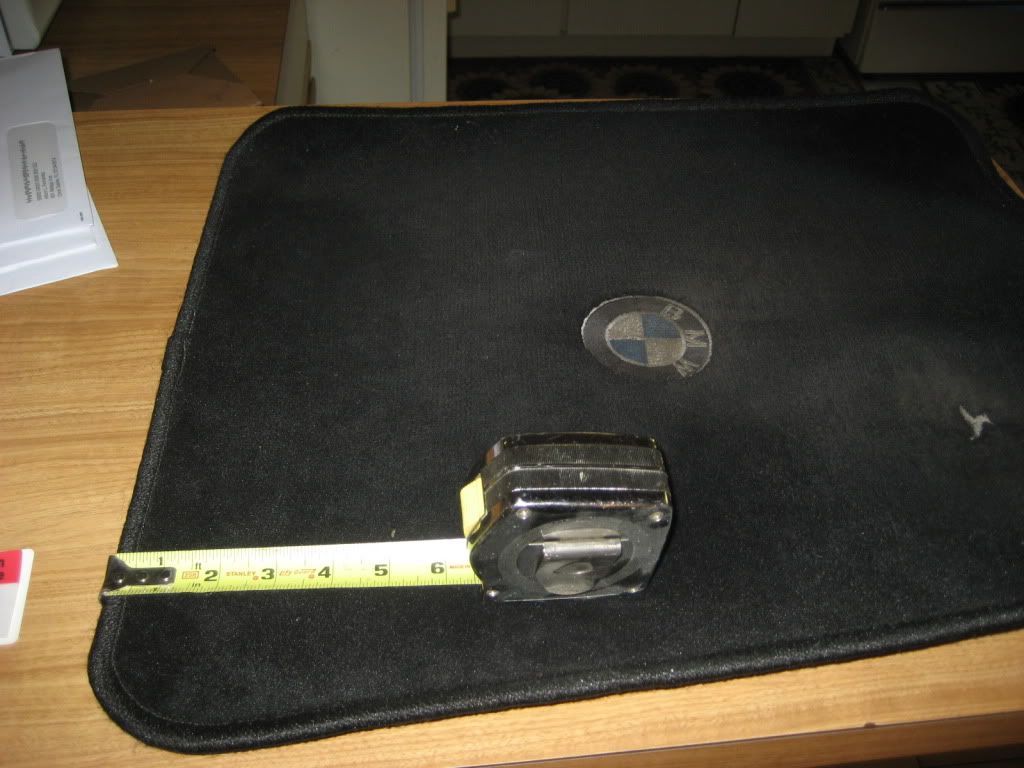
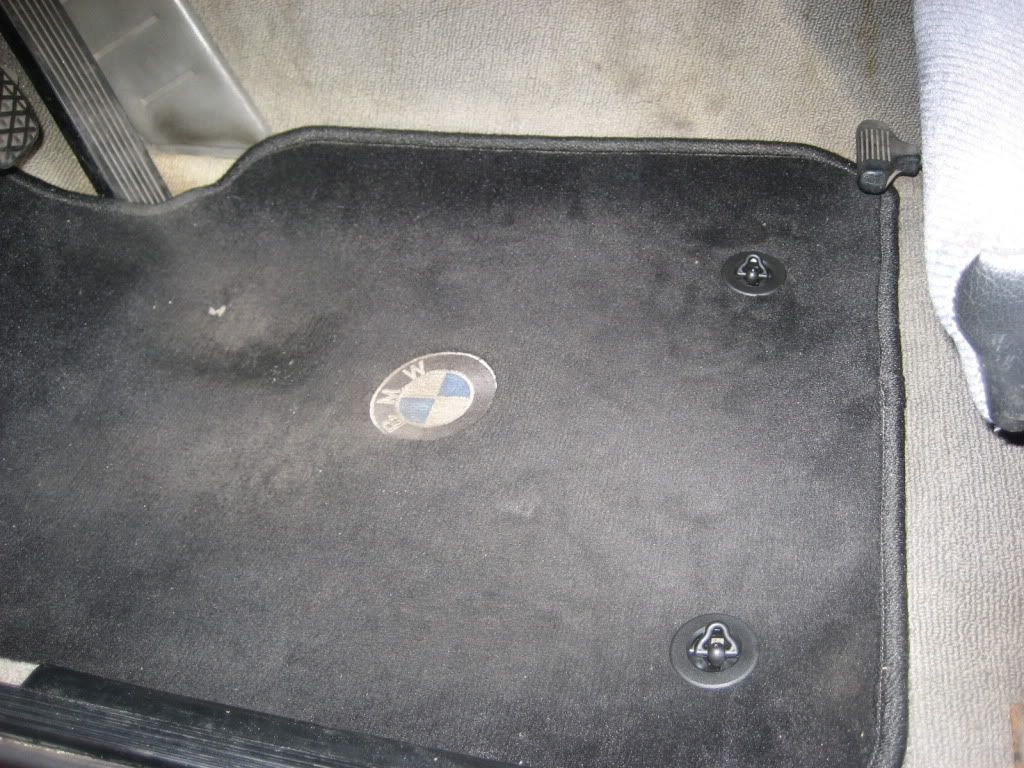
Only negative is the tab the swivels to lock it is a little too tall for the hole and in the picture it looks like it is sticking up.
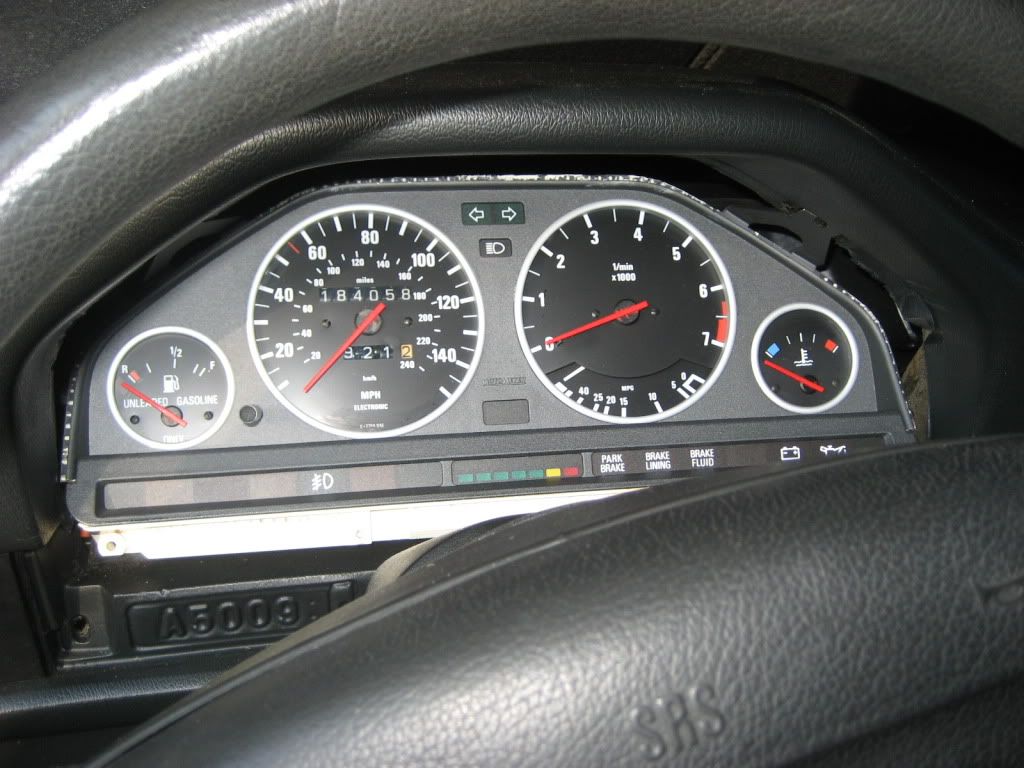
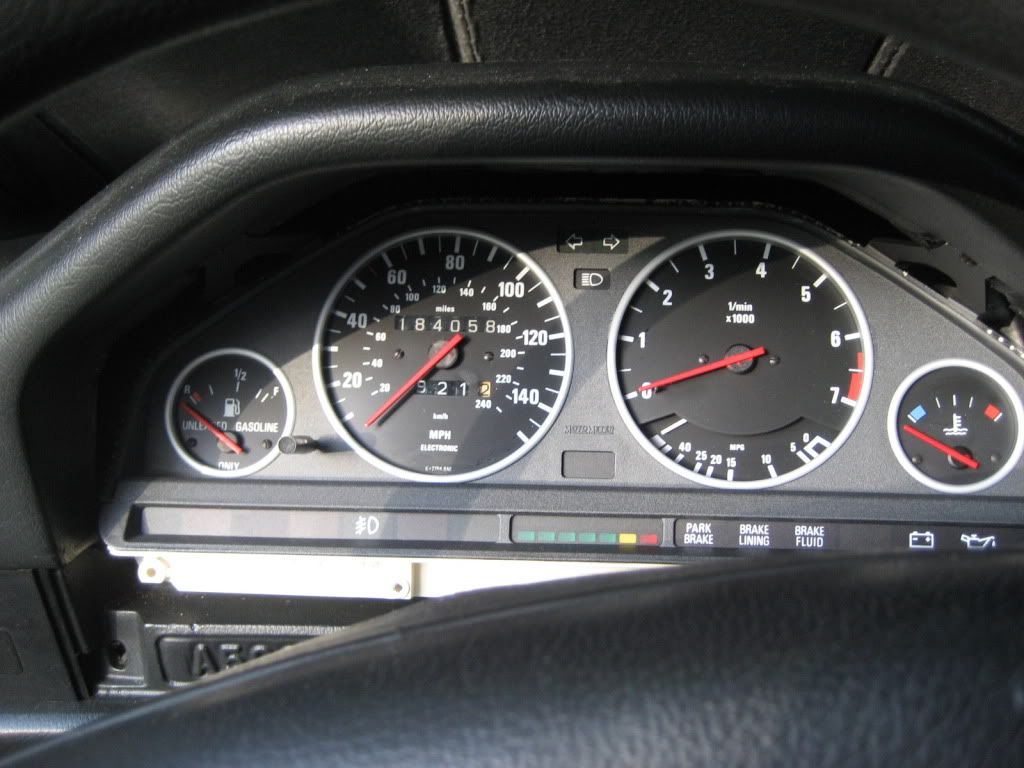
Here are some pictures of my brushed aluminum rings and painted needles. I did it as a rough draft as my guage faces need replacing and one of my needles is bent. I have another cluster that I have a few ideas in the works. The picture is of the cluster with the clear plastic off. I have it ready and polished with 3M's clear plastic polish. I used a enamel hobby paint "Bright Red" for the color. Testors required me ordering but the other brand had it in stock. I can't recall the name.
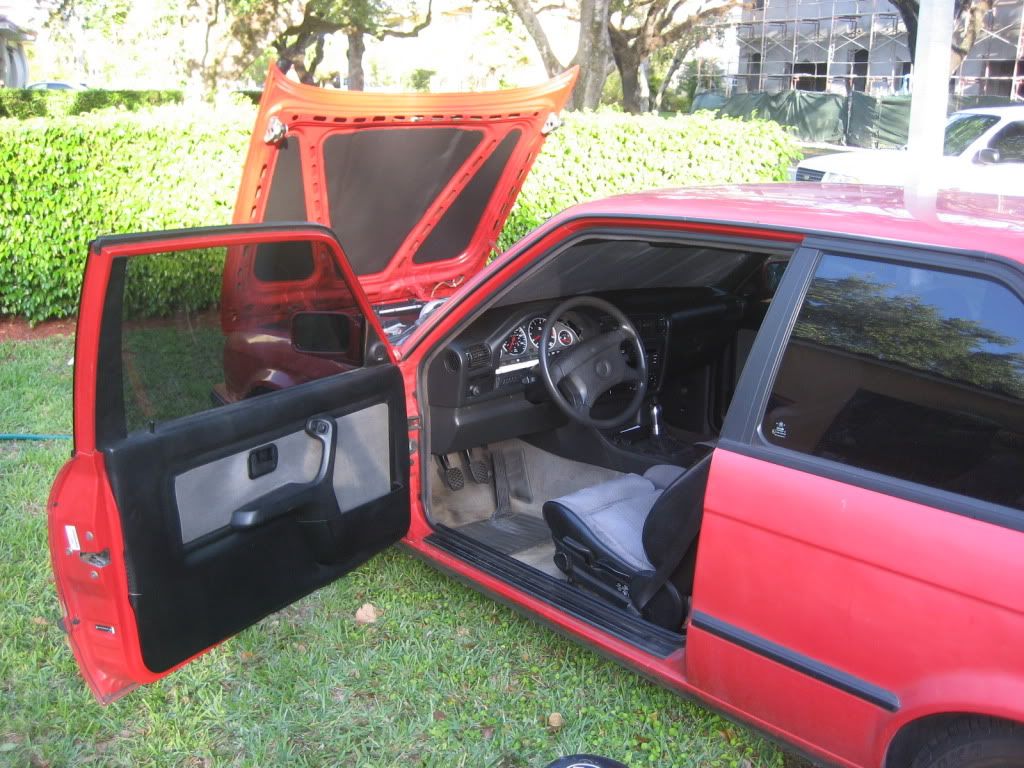
Lastly a pic of the exterior that I just liked.