Show Posts

This section allows you to view all posts made by this member. Note that you can only see posts made in areas you currently have access to.


Messages - bbarnumboy

Pages: [1] 2 3 ... 13
1
Swaps, Turbos, Buildups / Re: Martins Twin Screw Supercharger Build
« on: July 28, 2013, 06:28:14 PM »
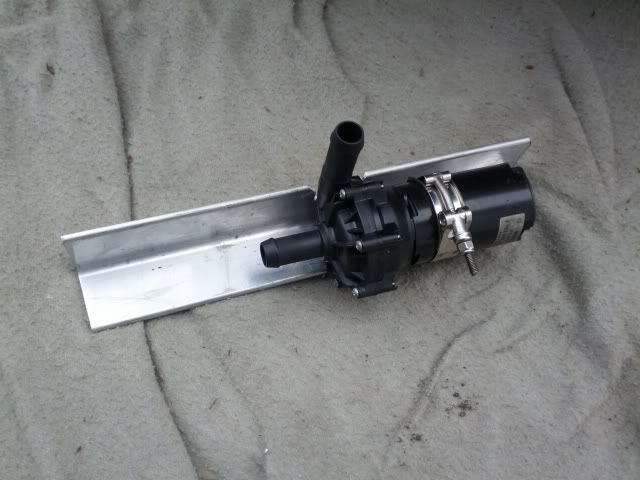
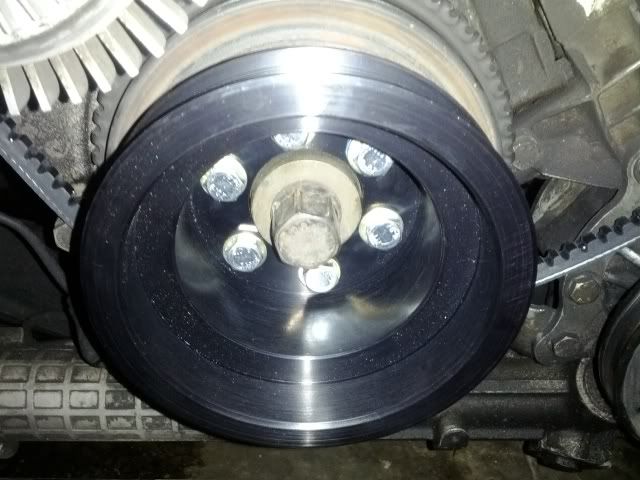
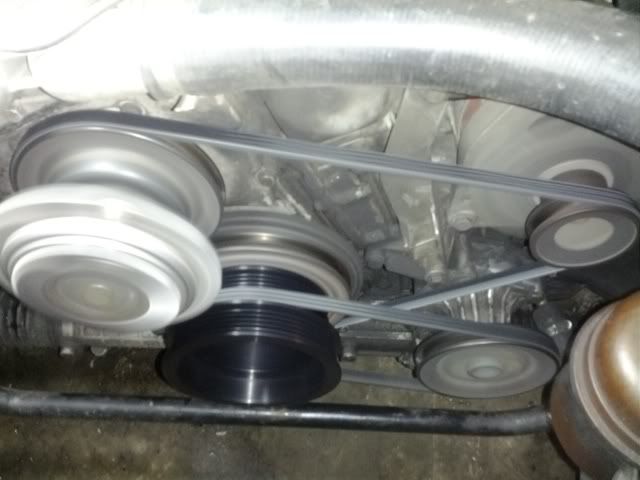
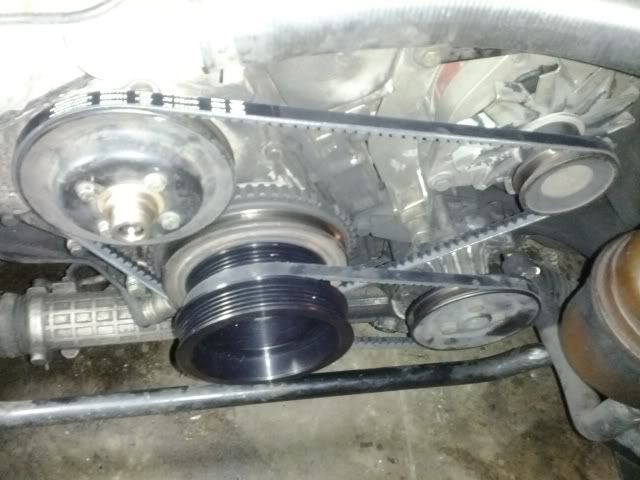
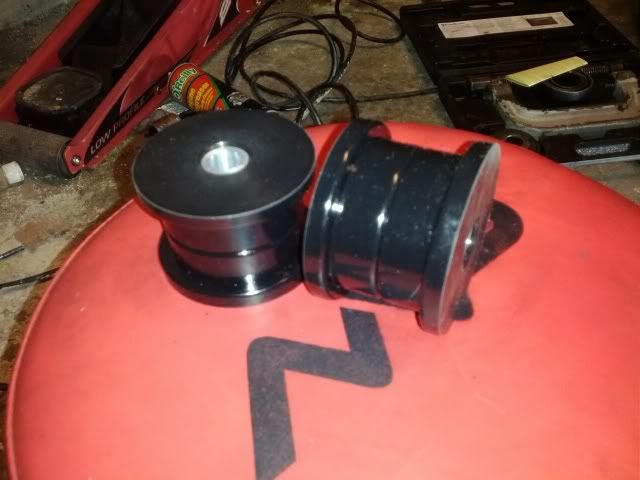
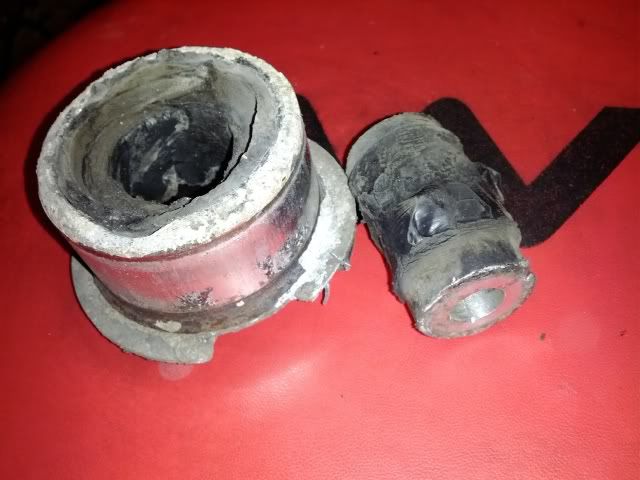
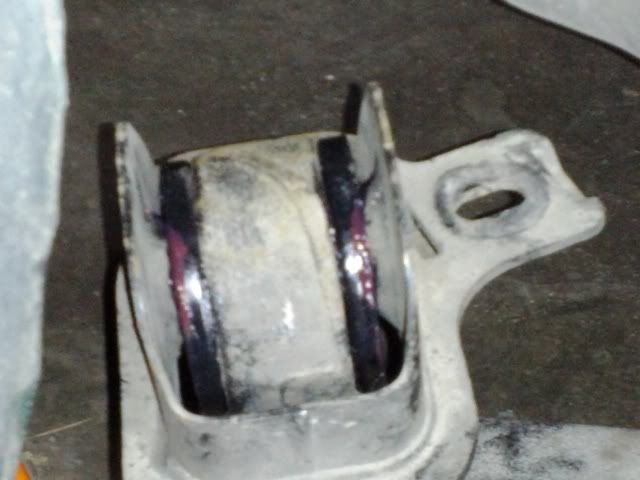
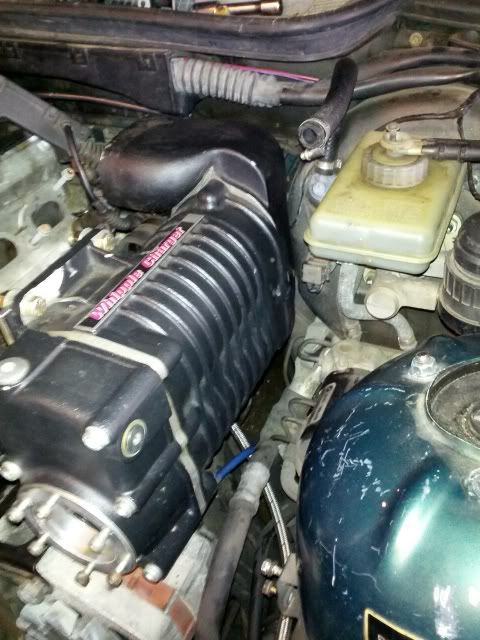
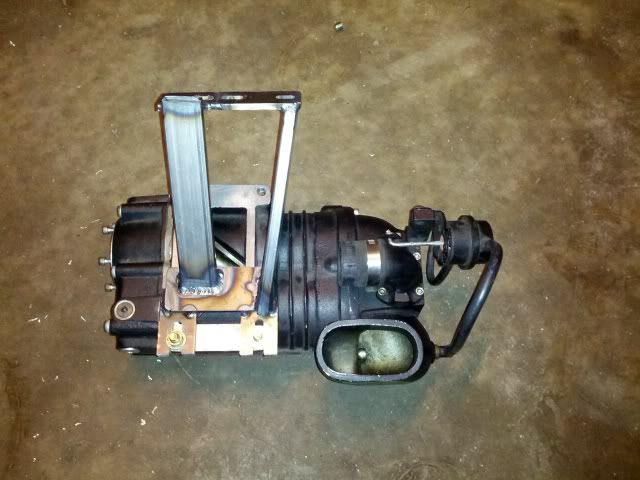
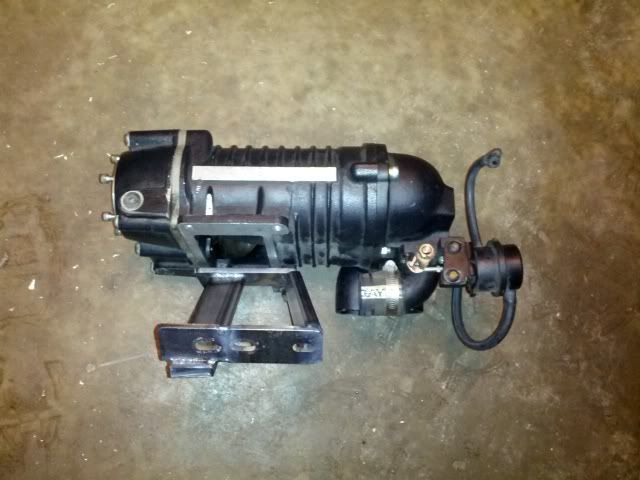
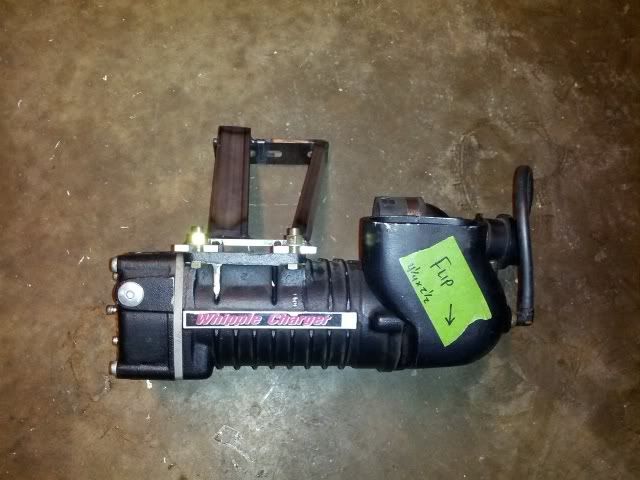
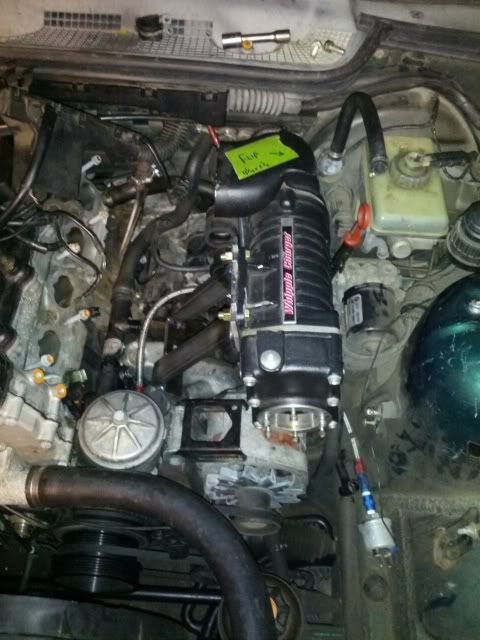
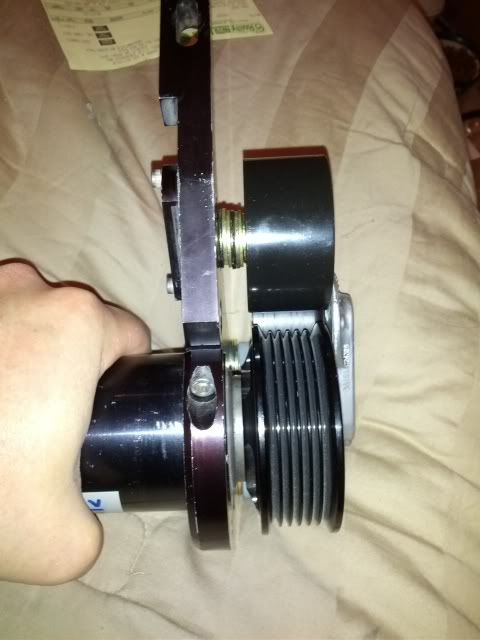
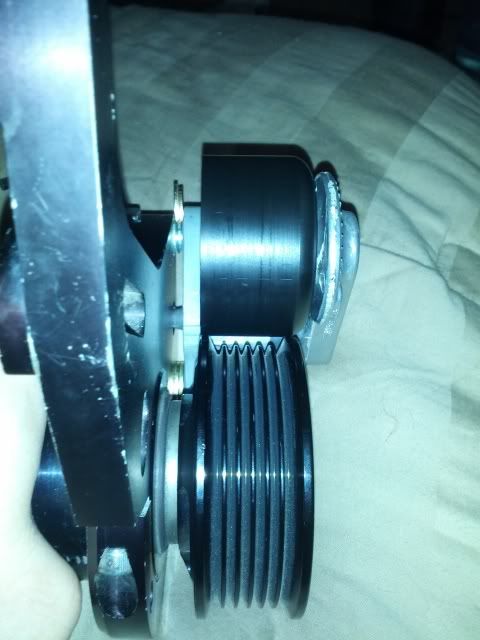
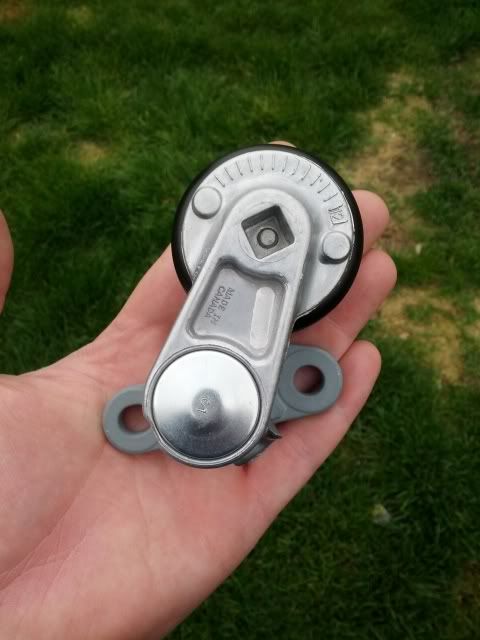
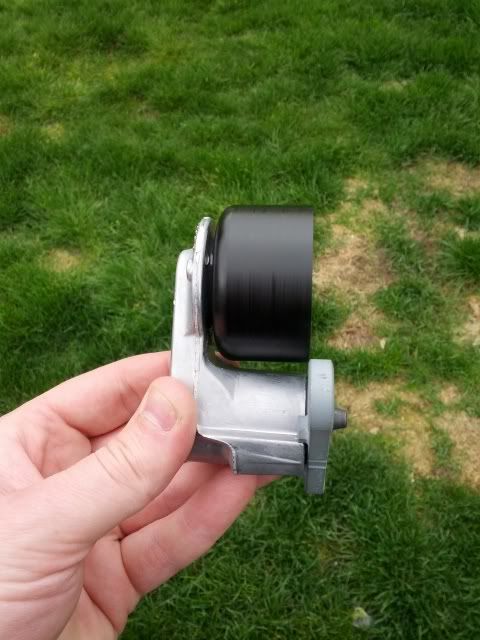
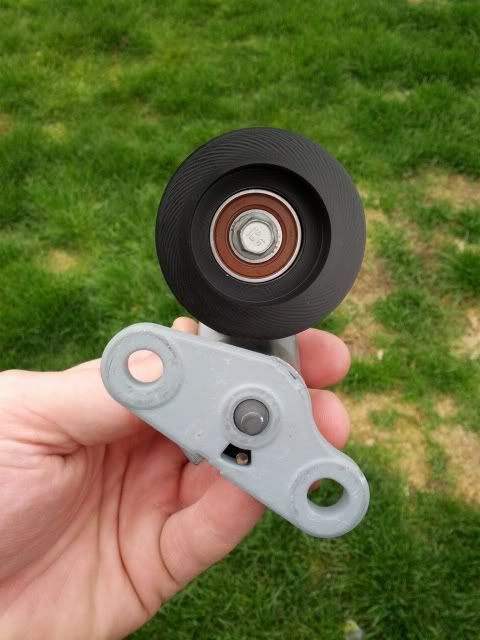
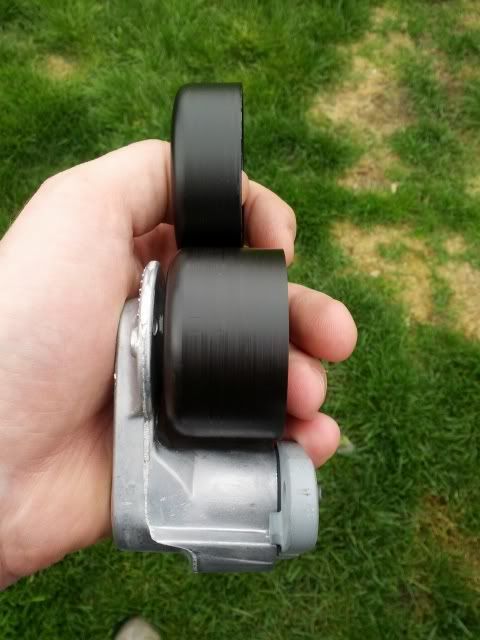
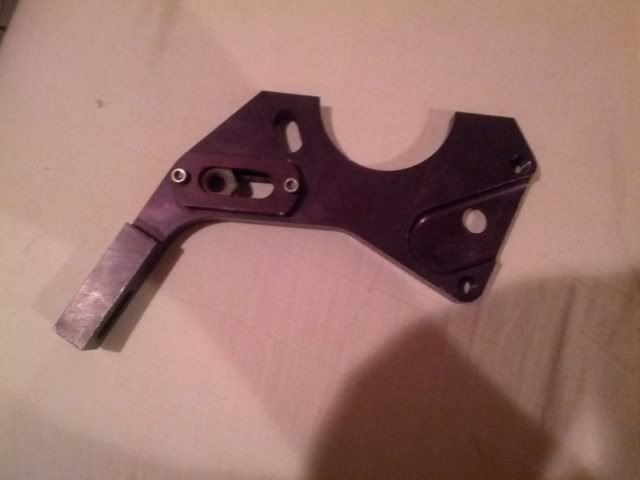
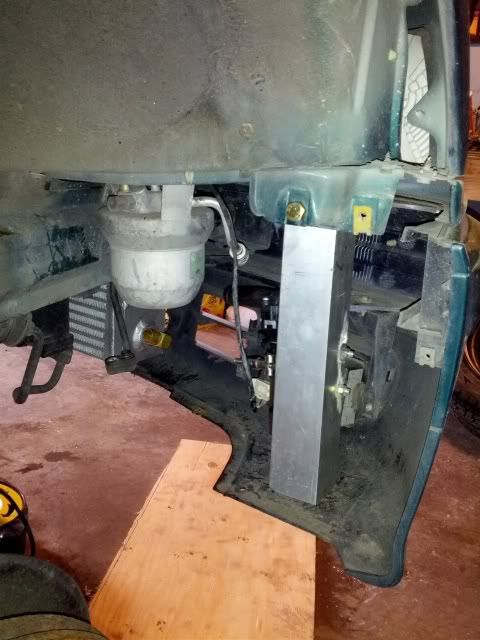
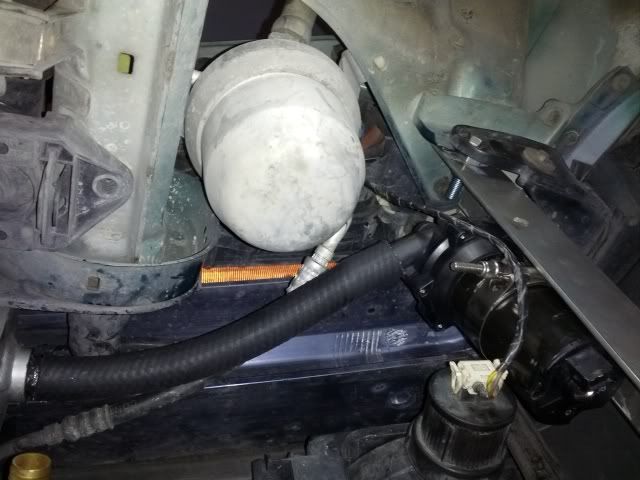
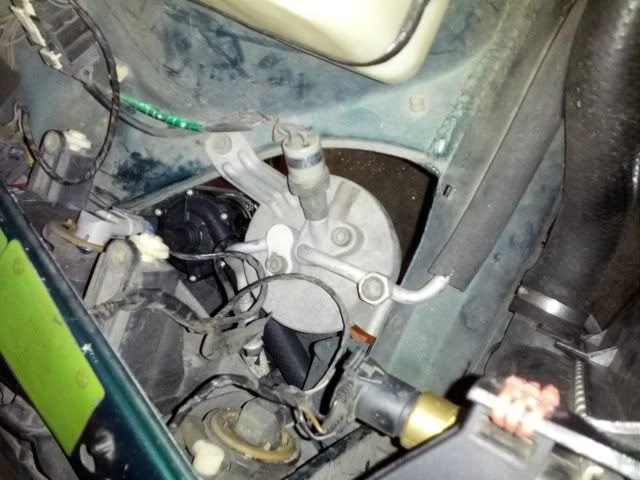
Waiting on machine shop  pieces and welding to be done etc. On the actual airbox and mounts.

2
Swaps, Turbos, Buildups / Re: Martins Twin Screw Supercharger Build
« on: July 28, 2013, 06:27:25 PM »
250whp at about 15psi is the goal

3
Swaps, Turbos, Buildups / Re: Martins Twin Screw Supercharger Build
« on: July 28, 2013, 12:36:45 PM »
Not at the moment. Hopefully soon.

4
Swaps, Turbos, Buildups / Re: Martins Twin Screw Supercharger Build
« on: April 10, 2013, 09:30:39 PM »
Mock up bracket #2 is a success. Needs about a 5 degree tilt away from the engine to make the compressor straight up and down. Needs to come forward 11/16" to align the pulleys. The new Whipple 3 5/16" snout came in today to change out the old 8" one. Coming together quickly!


5
Swaps, Turbos, Buildups / Re: Martins Twin Screw Supercharger Build
« on: April 06, 2013, 05:11:25 PM »
Well I ordered the new snout for the supercharger in a shorter length since this one is way too long. Whipple confirmed that I do have a true Lysholm 1200AX not a Whipple since Whipple and Lysholm merged back in the day. This one is an older one and for sure a Lysholm with a Whipple badge.

Got the mock up bracket to test out supercharger positioning and it is off by about an inch or so in more than one direction. More pictures after we get the test bracket remade for actual correct fitment.


6
Swaps, Turbos, Buildups / Re: Martins Twin Screw Supercharger Build
« on: April 04, 2013, 01:25:53 PM »
Tons of work being done on this project. I have completed the pulley system for the supercharger snout. The idler is held on with a bunch of washers for mock up that need to be replaced by a spacer.  The custom pulley was finally completed to mount on to the spring tensioner and it turned out nicely. We made it out of Delrin so we will see how long it lasts :-)

Made the custom mounting bracket modifications to fit the snout and mount to the car for strength.

The Actual supercharger mounting brackets will be back from the water jet cutter tonight. I will fit the compressor on for a mock fit along with a mock fit airbox for fitment.

I have a custom ordered a2w intercooler cartridge coming next week from bellintercoolers.com


Cartridge will have no air ports so i can make my own.


Hopefully i can post pictures of the compressor mounted in the engine bay tonight.

7
Swaps, Turbos, Buildups / Re: Martins Twin Screw Supercharger Build
« on: March 26, 2013, 11:55:50 AM »
I plan to go on the Leavenworth German car cruise on June 15th, so this will be my target to finish the car. I am going to hammer out a mock up of the air/mounting box this coming Saturday.

8
Swaps, Turbos, Buildups / Re: Martins Twin Screw Supercharger Build
« on: March 19, 2013, 09:52:42 AM »
Finished mounting the pump to a completely new bracket, even though it looks the same.  Found a great spot to hold the pump into place with 2 M10 bolts. Finished running the wiring for the pump so that it is hidden away. Hooked up the hose from the pump to the heat exchanger. I will hook up the other lines when it is ready to hook up to the intercooler manifold.

All in all I am very happy with the location i found and how perfectly everything fit into place.


9
Engine + Driveline / Re: Mustang Injectors in an M42 engine
« on: March 14, 2013, 10:19:52 PM »
Quote from: bbarnumboy;103661
Last year i had witchhunter do the cleaning /rebuild and flow tested them to 2% of each other and my recent upgrade to the mustang injector was a better and more noticeable increase.  nothing on paper, but it is smoother and especially idle. Torque seems very constant now, but that is all butt dyno :-)

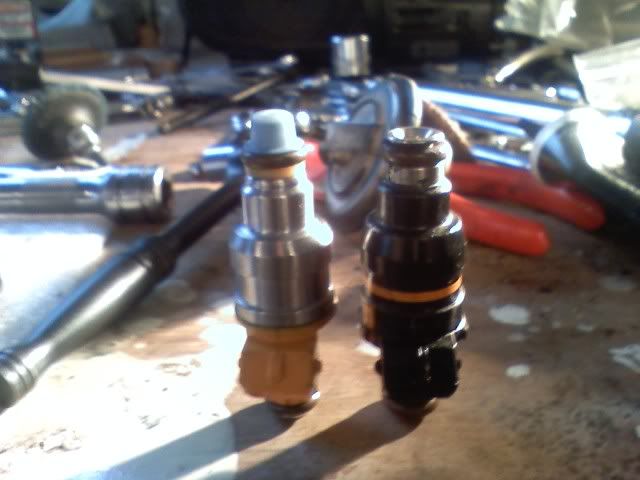
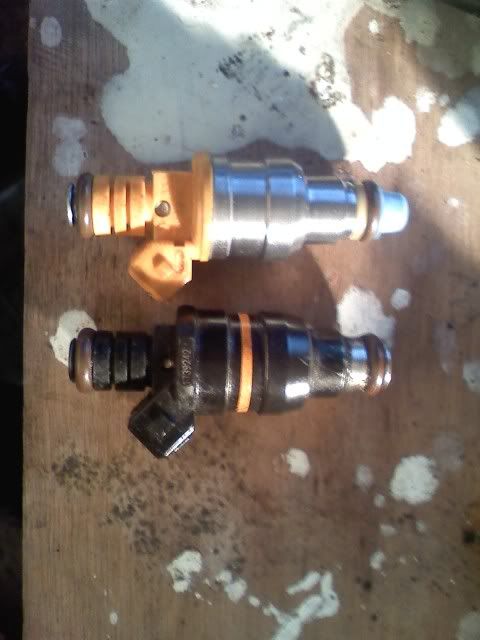
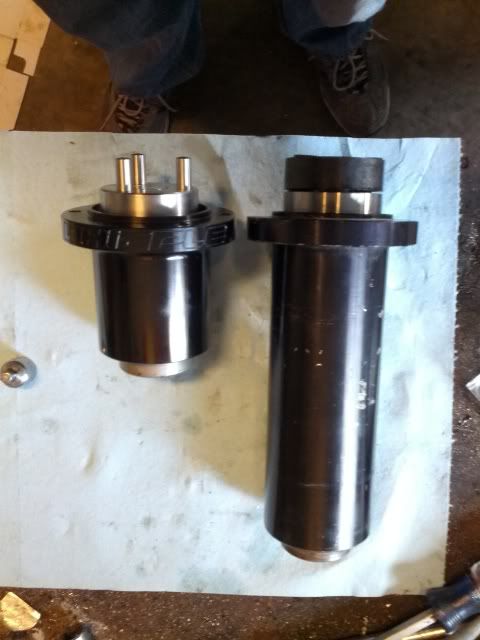
not much on flow design but if you look at the stock setup, it seems that the automized fuel could re-group together before even leaving the long nozzel of the injector. the pintle is deep withing the nozzel.  On the mustang injector the pintels are right at the end.

In the same time i wondered the same thing as you. the new injector will stick into the head farther than the stock one, as seen in the pictures of length.

i have a 1993 e36 m42 and my old injectors were stock 4 pintles. I did not know that until after i swapped them in and looked closely.

was it worth it?  i am not 100% sure. But i will test the claim on MPG's going up on this next tank of fuel. If no power increase, a better automized and better burning fuel consumption should lead to less fuel consumption in the end. and thats worth it to me.

I will report back on mpgs

here are the pictures to compare that i didn't get around to posting, from the install.

BOSCH 0280150556 Multi-Port Injector


8000 miles and still running great. No problems.  only complaint, they are alot noisier than the stock injectors.  The M42 is such a smooth quiet running engine as for noise levels right at the head. This is cause of the nice hydraulic lifters...so you can hear the injectors quite loud.

I have moved on to a supercharged setup with 42# injectors and i no longer need these practically brand new injectors. I installed these on November 29th 2011 as the post i made states, I put the car down in Feb of 2012 3 months after installing the injectors.  I will sell them for 50$ if anyone wants them. Worked great.

10
Swaps, Turbos, Buildups / Re: Martins Twin Screw Supercharger Build
« on: March 12, 2013, 09:29:19 AM »
I told you this would be a slow build. I decided to wire up the relay etc for the A2W pump. I also measured out some more aluminum angle stock and mounted the pump to the piece of angle. next I need to mount the pump into place on the car.

They make these fancy little fuse taps that i have never seen before. It is a housing that goes into place of a fuse in the fuse box. The bottom fuse is for the original item intended and the top one is used for the item you are wiring up. I do not recommend these for anything that draws very much current. I would never use them for anything more than an ignition trigger wire or for gauges or something very low voltage.  Otherwise you will be pulling more than that fuse position was designed for.

This fuse thingymabob came in very handy for me because I just used it for an ignition power source to trigger my relay. This pump will be running 100% of the time that the ignition is turned on. The install was very clean and all tucked away into the original fuse box. I ran the wires to the pump up front by following the harness for the fog lights and the horn. I drilled a few very small holes, just big enough for my wire out the back of the fuse box. Best part is I did not have to screw the relay down anywhere etc and it is very easy to reposition if needed.

Water Pump Mounted to Angle


Fancy little fuse tap, no wires were spliced or vampire bitten in the making of this,  Excellent


Relay tucked away neatly in the fuse box and the lid still fits on perfectly!


11
Suspension / Clunking from Passenger Side Rear Wheel Area
« on: February 28, 2012, 08:26:31 AM »
I Have had a bad clunk for a while. I just recently put a new differential and axles in. I think it was the axles. I put the car on jack stands (Not recommended) and ran the car in 2nd gear at idle. I could hear one of my axles kind of making a grinding noise. I am pretty sure that was the cause of my clunking.

Clunk is now gone with the new parts.

12
Swaps, Turbos, Buildups / Martins Twin Screw Supercharger Build
« on: February 13, 2012, 09:10:13 AM »
Finally got around to installing the Crank Pulley. Here are some pictures of the install. Put brand new belts on as well.

Got the final measurements taken to make the mock up air-box design.

Also replace the Rear trailing arm bushings. I could not  handle the clunking anymore!


Finally removed the Fan clutch


13
Engine + Driveline / Interest in Supercharger Crank Pulley?
« on: February 01, 2012, 05:25:40 PM »
For those that were interested this is the finished product


14
Swaps, Turbos, Buildups / Martins Twin Screw Supercharger Build
« on: February 01, 2012, 05:24:53 PM »
finally the custom made pulley has arrived. Its amazing. Craftsmanship is top notch. Made of aluminum and anodized black. The project is back in full force. Now it is time to finish the airbox


15
Swaps, Turbos, Buildups / Martins Twin Screw Supercharger Build
« on: January 30, 2012, 12:30:39 PM »
Custom Pulley was just shipped out to me today. I should see it in 2 days, where i can install it and then the final measurements can be taken!

Pages: [1] 2 3 ... 13